If it is not displayed, open the Getting_Started1.CATPart document.
-
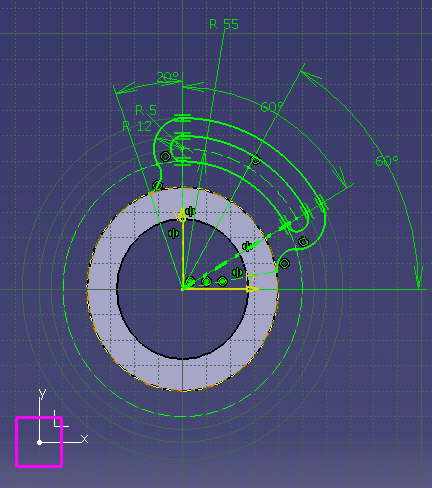
Double-click Sketch.2 from the geometry.
The sketch is displayed in the Sketcher workbench.

-
Select Output.1 from the specification tree to have it highlighted in the geometry area.
This output is based on Line.2.
-
Double-click Angle.26 value to edit its value.
-
In the dialog box that appears, change 60 to 90 deg.
-
Click OK to confirm the new value.
This constraint affects Output.1 orientation.
-
Click Exit Workbench
 in the Workbench toolbar.
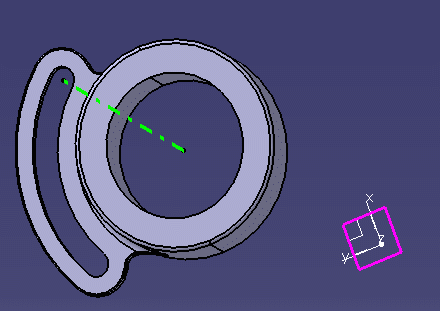
You are now back in the Part Design workbench and the sketch is displayed.
