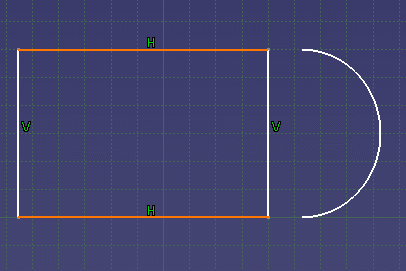
Use Snap to Point
-
Make sure that Snap to Point
 is activated.
By default, this option is on. -
Select Rectangle
 in the Profile toolbar.
 -
Drag the cursor to define the rectangle dimensions.
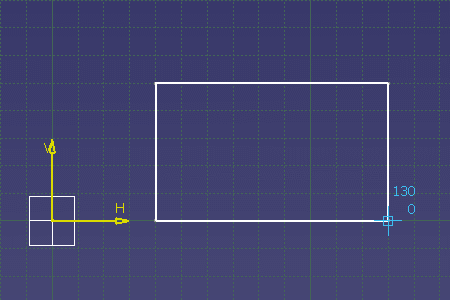
As you are sketching, the points are snapped to the intersection points of the grid. If this option is not activated, your sketch is not influenced by the grid points.
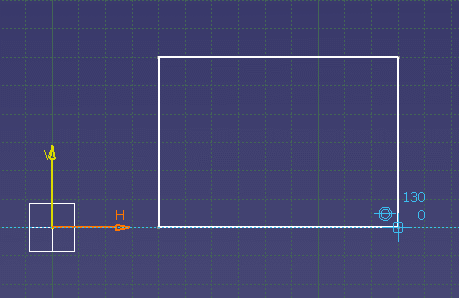
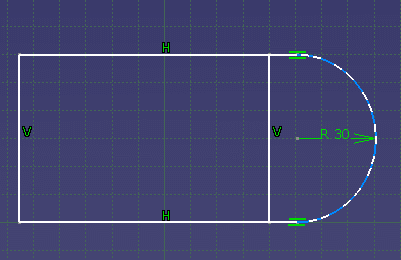
Use SmartPick
The SmartPick tool helps you detect the constraints all along the sketch creation. For instance, here a coincidence constraint is detected during the rectangle creation with the H direction.
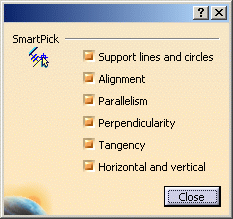
- The SmartPick tool is directly linked to the options that have been checked in the Tools > Options dialog box.
- Therefore, if you do not wish to visualize the constraints detected by the SmartPick, then simply uncheck the appropriate options in the Smart Pick dialog box by selecting Tools > Options > Mechanical Design > Sketcher > SmartPick.
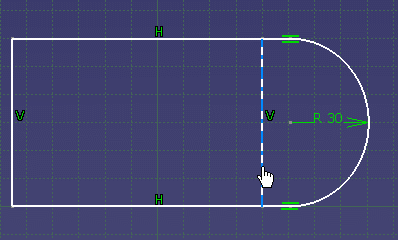
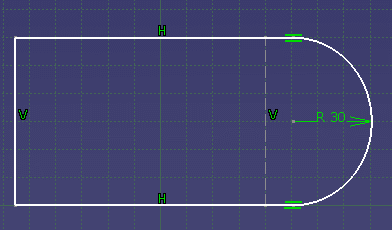
- When the Smartpick detects a coincidence between a line and a point,
this symbol
 is visualized in the geometry.
 - When the Smartpick detects a coincidence between two points, this
symbol
 is
visualized in the geometry.
is
visualized in the geometry.
Use the Construction/Standard Elements Option
Once set to the Construction mode, elements cannot be published in the
3D area.
Standard Elements are created by default and they can be published in the
3D area.
The Construction/Standard Element option
![]() is not active by default.
is not active by default.
-
Create a rectangle.
-
Select Corner
 in the Operation toolbar.
 -
Select Trim all Elements
in the Sketch tools toolbar. -
Select the two parallel lines one after the other.
An arc of circle is displayed and you can position it as you like just by dragging the cursor.
-
Drag the cursor to position the corner as shown here.
-
Click in the geometry to finish the corner creation.
-
Note that the corner is created and that the two selected lines have been re-limited automatically.
-
The corner is created and as the Construction/Standard Element option is not activated, the elements of this sketch are set to the standard mode.
-
Select the rectangle line as shown here.
-
Click the Construction/Standard Element
 option from the Sketch tools toolbar.
-
The selected line has been swapped to construction mode and is displayed as shown here.
-
If you want to generate a pad from this sketch it is important to set the line in construction mode otherwise the pad generation will not be possible.
-
To swap it back to the standard mode, simply select it and click again the Construction/Standard Element.
-
- Note that this is only one way of creating this sketch and that you can get the same result using other commands such as Profile, Circle, etc.
- When setting an element in construction mode, then this element is not published once in the 3D area