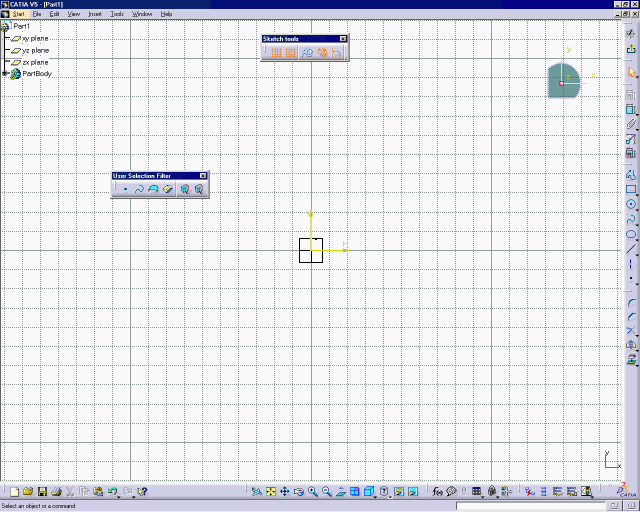
- Select Start > Mechanical Design > Sketcher from the menu bar.
- Select Sketch with Positioned Sketch
 and specify the reference plane, and the origin and orientation of the
axis system. This enables you to create a
positioned sketch.
and specify the reference plane, and the origin and orientation of the
axis system. This enables you to create a
positioned sketch.
This is the recommended method for creating a sketch, as it enables you to define explicitly the position of the axis system and ensures associativity with the 3D geometry.
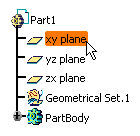
- Select Sketch
 and click the desired reference plane either in the geometry area or in
the specification tree, or select a planar surface. This creates a
"non-positioned" sketch (i.e. a sketch for which you do not specify the
origin and orientation of the absolute axis, which are not associative
with the 3D geometry). The sketch absolute axis may "slide" on the
reference plane when the part is updated.
and click the desired reference plane either in the geometry area or in
the specification tree, or select a planar surface. This creates a
"non-positioned" sketch (i.e. a sketch for which you do not specify the
origin and orientation of the absolute axis, which are not associative
with the 3D geometry). The sketch absolute axis may "slide" on the
reference plane when the part is updated.

- Select one plane of the axis system. h and v are aligned to the main axes of this selected plane. Associativity is kept between both the plane and the sketch.
HV plane calculation in relation to selected plane:
- The normal of the working support is the same as the principal normal of the plane selected. You choose zx plane, the PRINCIPAL NORMAL is Y
- The first vector H is define as follow : H= Z x N ( x means vectorial product). N is the normal vector y in our case. H = -X.
- The second vector V is define as V = N x H Don't forget that H;V;N must make a direct trihedron. You can reorient the axis system in the work support but the axis system must be direct. So when changing one vector H, change the others too.
Orientation
Remember that depending on the plane you choose for your sketch, HV directions differ as follows:
- if the plane is selected from a user-defined axis system, h and v are aligned to the main axes of this selected plane.
- otherwise, the sketch is positioned in relation to the origin of the part.
Entering the Sketcher to edit an Existing Sketch
To edit an existing sketch, you have several possibilities:
- Double-click the sketch or an element of the sketch geometry, either in the geometry area or in the specification tree.
- To do this from the 3D area, right-click the sketch in the specification tree, point to [sketch name] object in the contextual menu, and then select Edit.
Adding a Grid
To help you sketch your geometry, the application lets you add a grid. To know how to define and display a grid, Click here.