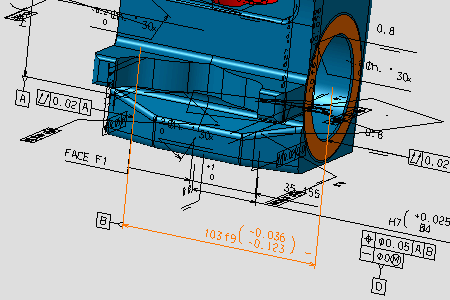
- Improve the highlight of the related geometry, see Highlighting of the Related Geometry for 3D Annotation.
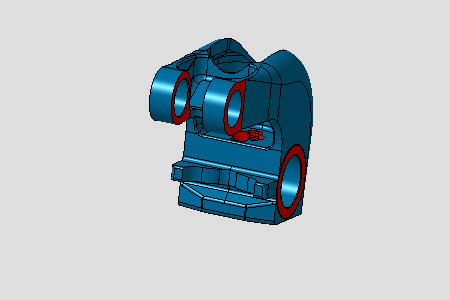
3D annotations are displayed
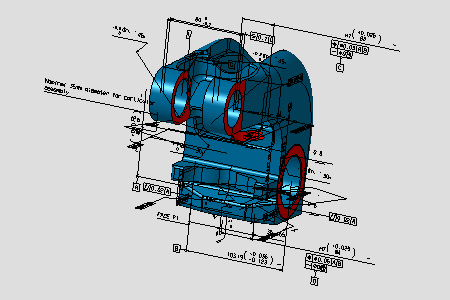
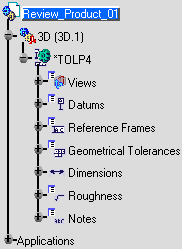
*TOLP4 set contains the dimensioning and tolerancing specifications of the part model.
-
Select a dimension in the expanded specification tree.
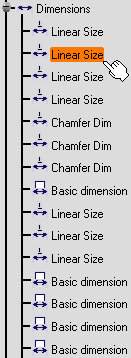
The tolerancing object of the specification tree and the surfaces used in the tolerancing annotation are highlighted. Selecting a tolerance is a way of querying the annotated model.
