-
Slice the two polygonal meshes as shown in the previous task.
-
Click the Stitch icon
 .
.The Stitch dialog box is displayed. 
-
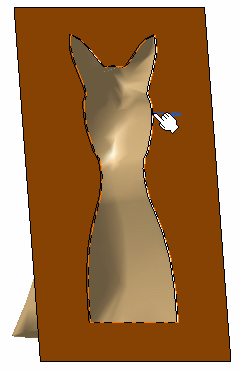
Select a hole along the boundary of the first mesh.
The blue arrow shows you which boundary is selected. 
-
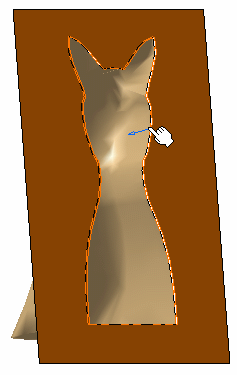
Holding the Ctrl key, select a hole along the boundary of the second mesh.
The blue arrow shows you which boundary is selected. 
-
Adjust the tolerance using the spinners (in our scenario, it is set to 2.5 mm).
If a too low value is set, holes still remain. -
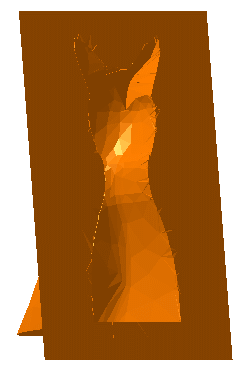
Click Apply to preview the stitching.
Meshes are merged and stitched into one mesh.
Here the mesh is displayed as flat. Refer to Applying Display Options and Graphic Properties for further information.

-
Click OK to exit the command.
The element (identified as Stitching.xxx) is added to the specification tree. 
Stitch cannot create non-manifold edges.
![]()