About the Free Space Functionality
Free Space functionality calculates and visualizes the available space in a model. The
result is a solid.
You can then:
- easily perform different types analysis on this solid (for instance volume or inertia analysis)
- consider this solid as the outside boundaries of the components to be
assembled inside the original model.
- you can compute the free space between elements within the boundaries of a given area with a more accurate definition
- the free space functionality among the possibly multiple result pieces chooses to compute the only resulting piece which is derived by using the periphery of the objects that enclose a user defined point in closed or nearly closed space.
Step-by-Step Scenario
This task shows you how to
calculate a free space for two different purposes:
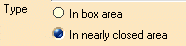
- You need to calculate a free space (volume) which will be assigned a new functionality (analysis...)(in box option)
- or a free space which corresponds to a capacity (in nearly closed geometry option)
Use the Fit All In icon
![]() to position the model geometry on the screen.
to position the model geometry on the screen.
Alternate Shape Management
-
(Optional)
You can manage automatically your result as alternate shape of the initial component. For this:- Select Tools > Options from the menu bar.
The Options dialog box is displayed. - Expand the Digital Mockup category from the left-hand tree.
- Select DMU Optimizer item to display the corresponding tab. The Alternate Shapes Management is available
- Select the Free Space check box: it is automatically activated as an alternate shape. When activated the free space representation is the one visualized in session.

- Select Tools > Options from the menu bar.
-
Click Free Space
 in
the DMU Optimizer toolbar.
in
the DMU Optimizer toolbar.
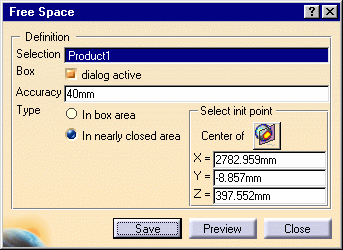
The Free Space dialog box and Free space box are displayed: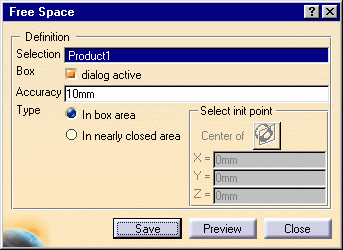
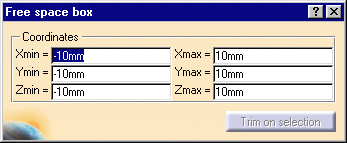
The box appears in the geometry area 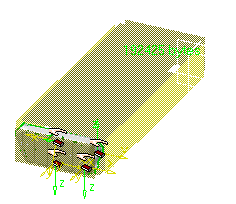
-
Select Product1
-
Keep the default type (in box area).
-
Keep the default value in the accuracy field.

Note: if you change the accuracy value, you need to use the  command from the standard toolbar. You are still in the free space
command and you can then enter a new accuracy value.
command from the standard toolbar. You are still in the free space
command and you can then enter a new accuracy value. -
Define the free space, You can either:
- Enter coordinates values in the Free space box,
- Resize the box with the manipulators within the geometry area,
- Or click
 .
.
-
Click
.
Note: the 3D map memory size (in bytes) is displayed (in green) as you manipulate the box. -
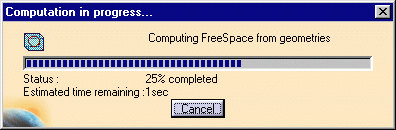
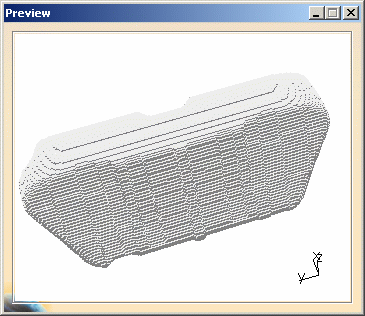
Click Preview to generate the free space. The progress bar is displayed letting you monitor and, if necessary, interrupt (Cancel option) the calculation. The preview window shows the result:
-
Click Save.
Note: clicking Save keeps the command active and lets you therefore launch the calculation again if needed. The Save As dialog box automatically appears 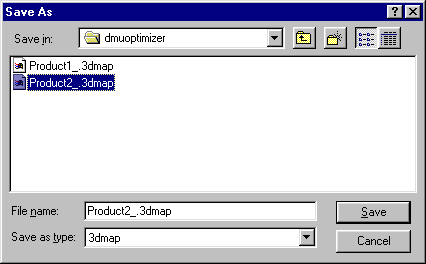
-
Enter a meaningful name and click Save to generate a 3dmap file.
Now repeat the scenario from step 1 but select the nearly closed area option in the Free Space dialog box. You are going to calculate the capacity of the tank. -
Select in nearly closed area option
You can compute the free space between elements within the boundaries of a given area with a more accurate definition, selecting an init point 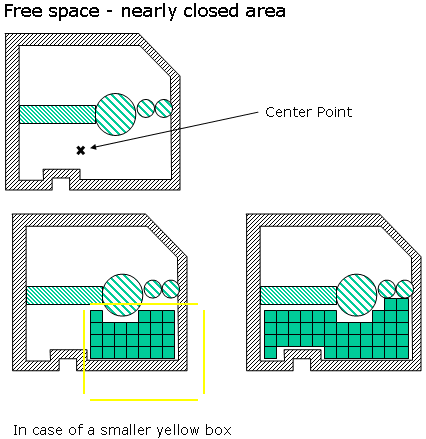
-
For this, click the Section Plane button
 to position your point.
The Section Definition dialog box and a Preview window are displayed. 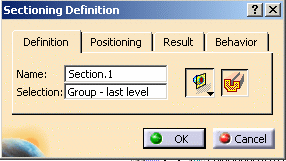
For more information, refer to Creating Section Planes in DMU Space Analysis User's Guide. -
Position your init point accordingly. For instance, move the section plane in the x,y plane of the local axis system:
For this: press and hold down the left mouse button, then the middle mouse button and drag (still holding both buttons down) to move the plane to the desired location.Refer to Manipulating Section Planes Directly in the DMU Space Analysis User's Guide. 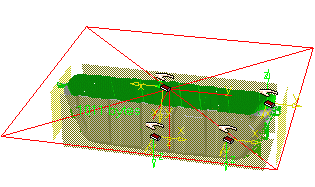
-
Click Ok in the Edit Section Plane dialog box. The box is updated with the coordinates defined.
-
Enter 40 mm in the Accuracy value field.
-
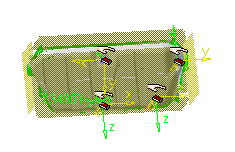
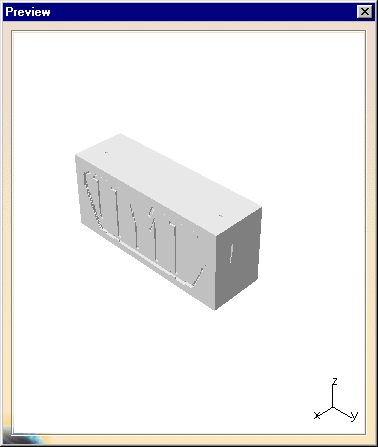
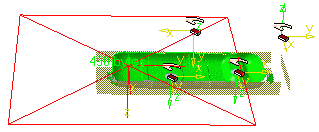
Click Preview to generate the free space. The progress bar is displayed, letting you monitor and, if necessary, interrupt (Cancel option) the calculation.
The Preview window shows the result:
-
Validate the operation depending on the situation:
If you are satisfied with the result, then...
If you are not satisfied, then...
click Save and then save in the Save As dialog box to obtain a 3dmap file. enter a new accuracy value and press the Enter key. Click Save and then save in the Save As dialog box to obtain a 3dmap file.
![]()