 |
This task shows you how to modify or create a direction or
change a ply material in a Composites part.
|
 |
Open the
ModifyPlies1.CATPart document. |
 |
Modifying a Direction
The original specification tree looks like this:
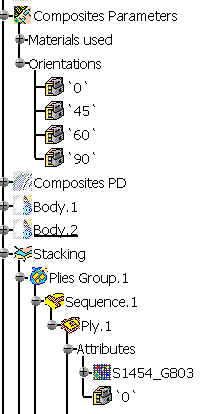 |
| |
-
Click Composites
Parameters  . .
The Composites Parameters dialog box is displayed.
-
Select the first direction.
Its name, value and color are displayed.
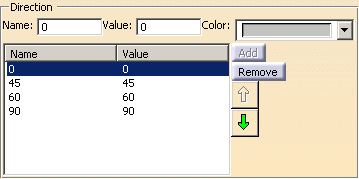
-
Modify the values as shown below.

-
Click OK to apply these new parameters.
The part and the specification tree are updated accordingly.
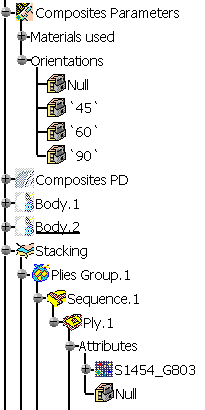
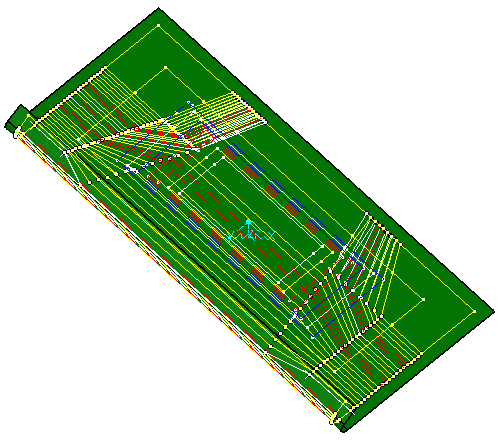
|
| |
|
| |
-
Click Composites
Parameters  . .
The Composites Parameters dialog box is displayed.
Type in the name, the value and the color of the direction
as shown below.
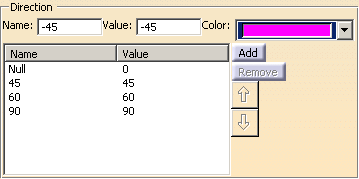
-
Click Add to insert the direction you just
created.
-
Select the new direction, then use the up and down arrows
to position it in the list.
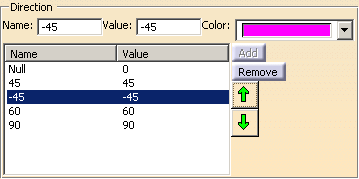
-
Click OK
to create the direction.
-
Click Yes when
warned that the zones laminate will be impacted by the change of
direction.
-
Click Ply
 to create a ply
manually.
Select Plies
Group.1 in the specification tree.
In the geometry
tab, click Add.
In the
specification tree, select the contour of ply.1.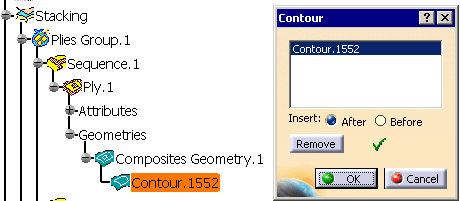
-
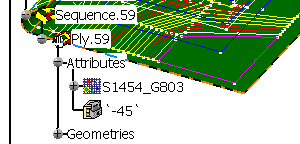
In the Attributes
tab, select the direction you created in the drop down list..
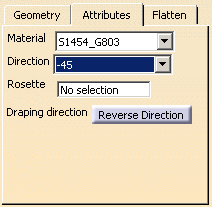
The ply is
created with the parameters of the direction you selected.
|
 |
The information concerning the name of the direction is also
used in tables when importing a laminate, creating a stack-up file from
zones, importing a ply and when exporting a core sample. |
 |
|
|
-
-
-
-
-
|
 |
|
 |
|
|
|
|
|
 |

 .
.


 .
.

 to create a ply
manually.


![]()