Creating Darts

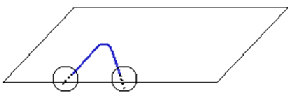
This task shows you how to create darts:

and how to

Available in Composites Engineering Design (CPE) and Composites Design for Manufacturing (CPM).
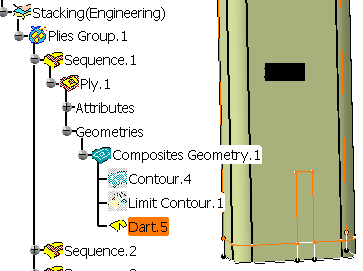
You will use Dart01.CATPart to create both types of dart, so do not save Dart01.CATPart once you have created the first dart.
You will use Sketch.1 in PartBody to create the curve dart. You can hide it while creating the line dart.
 

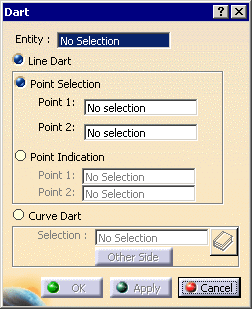
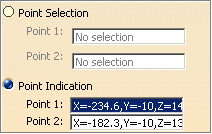
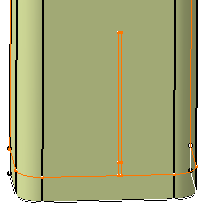
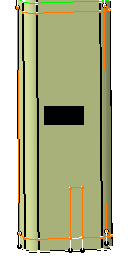
Creating a Line Dart

 
  1. Click Dart . The Dart dialog box is displayed:

  2. Select Ply.1 from Sequence.1.
    You can select plies or cut-pieces.

  3. Make sure the Line Dart option is selected.
    Select the Point Indication option.
    A line dart is created from two points:

    • either GSD points already created on the shell of the selected entity (option Point Selection),
    • or points indicated at the desired location (option Point Indication).
      Note that the coordinates of indicated points will be saved.
  4. Pick two points inside Ply.1.
    The dialog box is updated with their coordinates:

    Click Apply, the dart is displayed on the ply:

    It is created this way:
    The line that passes through the two points is extrapolated to the closest edge of the ply contour.
    Two parallel curves are created on each side of the extrapolated line,
    plus one line between them to form a closed contour
    (a very small gap, shown by the arrows below, is required for a topologically correct closed contour).

    The dart is created from this closed contour:

  5. Click OK. The dart is created:


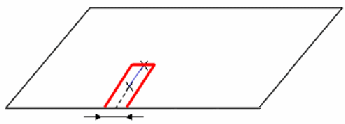
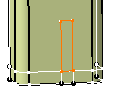
Creating a Curve Dart

  1. Click Dart . The Dart dialog box is displayed:

  2. Select Ply.1 from Sequence.1.
    You can select plies or cut-pieces.

  3. Make sure the Curve Dart option is selected and select Sketch.1.
    The dialog box is updated.
    You can select any curve that intersects the ply contour
    or any curve that can be extrapolated to intersect the ply contour.
    If required, use the Selection contextual menu to create a curve.

    Click to select an UDF or a PowerCopy.
    If necessary, the curve is extrapolated to intersect the ply contour to form a closed contour.

  4. Two closed contours can be created from the selected curve and the ply contour.
    If the closed contour proposed:

    is not suitable, click Other Side to keep the other one:

    You can also pick the portion of ply you want to keep in the 3D Viewer.

  5. Click OK. The dart is created.


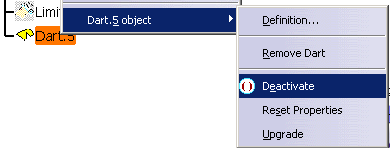
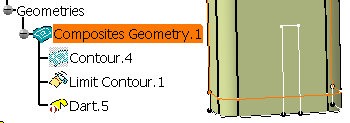
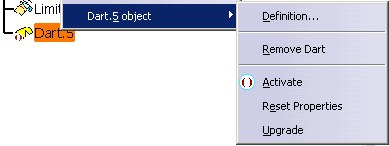
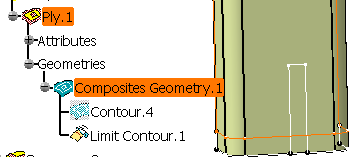
Deactivating/Activating a Dart

  1. Right-click the dart you want to remove and select Deactivate in the contextual menu.

    The ply contour reverts to its original form and the dart feature is marked as deactivated:

  2. Right-click the dart. Deactivate has turned to Activate.

    Click Activate to reactivate the dart.


Removing a Dart

  1. Right-click the dart you want to remove and select Remove Dart in the contextual menu.

    The dart feature is removed from the specification tree and from the ply contour.