![]()
-
In the stack-up file, go to the line of Ply.1 and modify the values as follows:
- Ply name: Ply.A
- Material: KEVLAR4
-
Go to line of Ply.49 and modify the values as follows:
- Ply name: Ply.B
- Material: KEVLAR4
-
Insert a new line before Ply.54 and type in the following values:
- Plies Group: Plies Group.2
- Sequence: Sequence C
- Ply name: Ply.C
- Material: U174_T800
- Direction: 90
-
Insert a new line at the end of the file and type in the following values:
- Plies Group: Plies Group.3
- Sequence: Sequence.Z
- Ply name: Ply.Z
- Material: GLASS
- Direction: 0
-
Save the stack-up file and close it.
-
Click the Ply Table Import icon
 .
.
The Plies Creation From Stack-Up File dialog box is displayed.

-
Click the ... button to define the path where the stack-up file is stored.
-
Select the Stack-UpFile2 file you previously modified and saved.
-
Click OK.
You are informed if the import succeeded or failed.
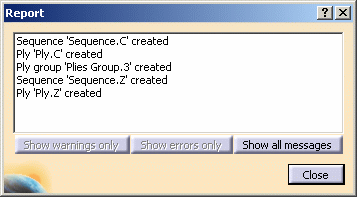
The specification tree has been modified according to the changes you made in the stack-up file.
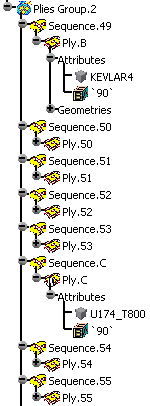
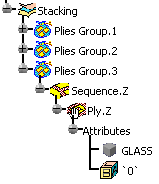
-
Generate again a stack-up file to take into account the modifications you made in the stacking and recreate the geometric references of the plies.
-
Open the newly generated stack-up file and check the values for Ply.C and Plies Group.3.


Ply.C inherited the reference surface and the draping of Plies Group.2 as well as a new geometric reference.
Plies Group.3 inherited the surface reference and the draping of the stacking as well as a new geometric reference.
- each line of the stack-up file with a ply in the stacking of the Composites part;
- each ply to a geometry, that enables you to switch a geometry between two plies.
-
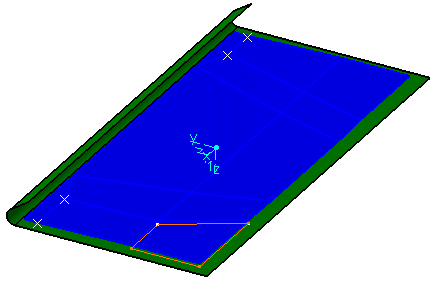
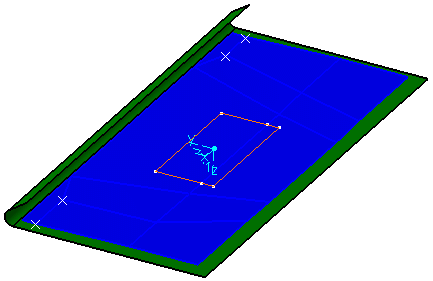
Check the geometry of Ply.A and Ply.B in the Stack-UpFile2.CATPart.
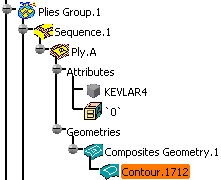

-
In the stack-up file, set the geometric reference of Ply.A to 49.
-
Then set the geometric reference of Ply.B to 1.
-
Save the stack-up file and close it.
-
Click the Ply Table Import icon
 .
. -
Select the Stack-UpFile2 file you previously modified and saved.
-
Click OK.
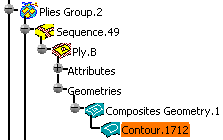
The geometries of both plies are switched with one another.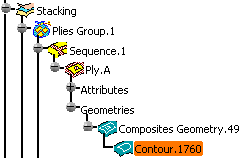
![]()