This can be done in two ways:
- Automatically
- Using the Boundary command. This is useful when the wall of a compartment needs to be split into more than one boundary to accommodate, for example, two compartments on the other side.

- Tools - Options - Infrastructure - Part Infrastructure
On the General tab under External References, check Keep Link With Selected Object and Show Newly Created External References.
Automatically Creating Boundaries
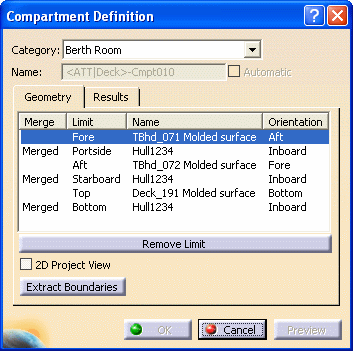
The Compartment Definition dialog box displays.

Boundaries are created. You see them listed in the specifications tree.

Using the Boundary Command
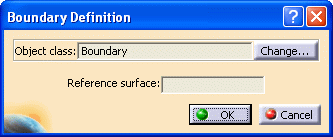
The Boundary Definition dialog box displays.

![]()