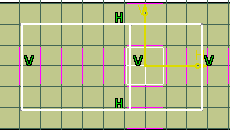

To delete a wall, select a line and press the Delete key.
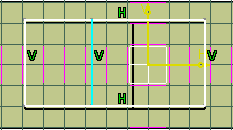
NOTE: The Update Diagnosis dialog box displays (depending on you settings) because you deleted the underlying sketch for a wall, and the application must reconcile it. Click Close to close the dialog box.
Click the Update Wall System button
![]() ,
and select any of the wall system Sketcher lines in your
document.
,
and select any of the wall system Sketcher lines in your
document.
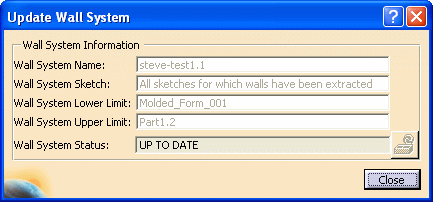
The Update Wall System dialog box displays.

The Wall System Status field shows that the wall system is out of date.
Click the Update Wall System button (beside the Wall System Status field) to update the wall system.
The Wall System Status field now shows that the wall system is up to date.
NOTE: If you make a change that is beyond the limits of what the application can do, such as extend a line beyond the hull, the wall system does not update. A message displays, informing you which element cannot be updated.