-
Click Dowel
 .
.
-
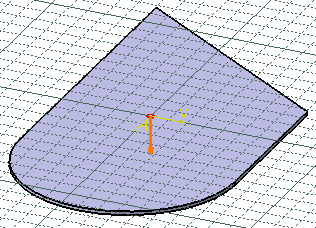
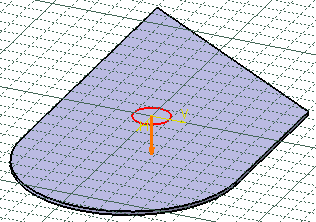
Click the surface where you want to place the dowel.
A grid is displayed to help you position the dowel.
 |
| |
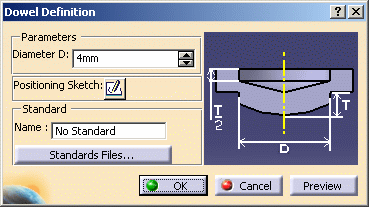
| The Dowel definition dialog box
is displayed, providing default values. |
| |
 |
-
Use the up and down arrows to change the diameter value.
In our example we chose a value of 20mm.
The dowel's diameter is updated accordingly. |
| |
 |
| |
-
Should you need to change the position of the dowel on
the surface, click Positioning Sketch
 .
.
| The Sketcher workbench opens and a point representing the dowel's
position is displayed on the surface. |
| |
 |
| |
-
Move the dowel on the surface according to your needs.
-
Exit the Sketcher workbench.
| The dowel is positioned according to your settings. |
 |
-
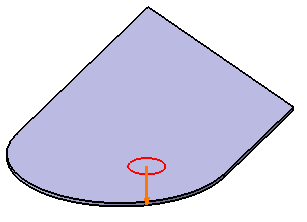
If needed, you can change the dowel's direction by
clicking the red arrow.
-
Click Preview to visualize
the dowel.
-
Click OK to create the dowel.
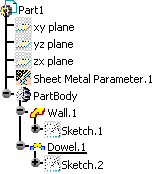
| The specification tree is updated accordingly. |
| |
|
|
| |
 |
You cannot perform operations on a dowel such as creating a
cutout or a stamp. |
| |
|
 |
Refer to the Customizing Standard Files chapter for more
information about defining the Standards Files. |