 |
-
Select Insert > Sectioning from the menu bar,
or click Sectioning
 in the DMU Space Analysis toolbar and
create a section box.
|

The Sectioning Definition dialog box appears.
A Section result window showing the
generated section appears alongside the
document window. |
-
Click the Positioning tab, then
Geometrical Target
 to snap the box to planes.
-
Point to the first plane of interest. The Geometrical
Target command recognizes that it is a section box.
|
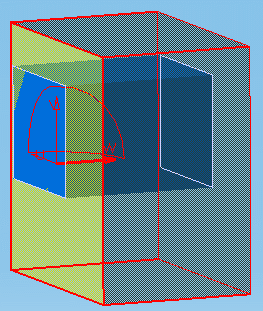
A rectangle and vector representing a plane and the
normal vector of the plane appear in the geometry area as well as the
figure 1 to assist you. It moves as you move the cursor.

|
-
When satisfied, click to position the master plane of the
section box on the first target.
|

|
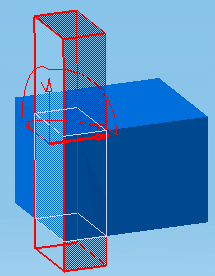
| Note that the visual aid now displays the figure 2. |
-
Select a second plane. This plane adjusts box dimensions,
and if required, rotates the box.
The section box is totally constrained to selected planes.
|
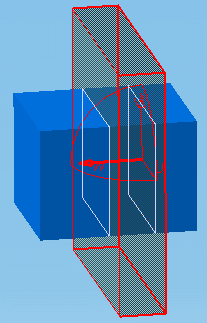
The two selected planes are parallel: box thickness
is modified

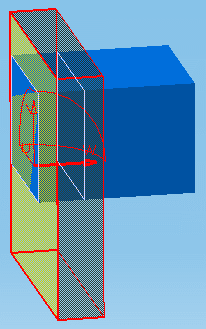
The two selected planes are perpendicular: box height
is modified

|
-
Click OK in the Sectioning Definition
dialog box when done.
|
![]()