 |
Open the
CurvesOnCloud1.CATPart model the from the samples directory.
You can use either the cloud or the mesh.
-
Click Curve Projection
 .
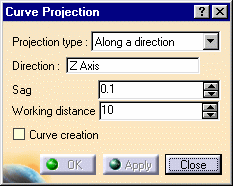
The curve projection dialog box is displayed. .
The curve projection dialog box is displayed.
-
Select the curves to project and the target cloud or
mesh.
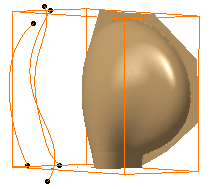
Curves can be selected:
-
from the specification tree,
-
with a selection trap,
-
with the preselection navigator.
|
-
If
the target is a cloud of points, the projection is automatically
computed along a direction.
If the target is a mesh, you can select the
Projection type
from the list:

-
If the projection
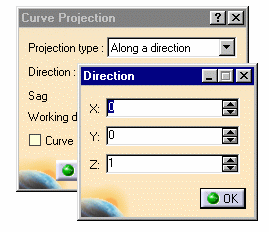
is computed along a direction, the direction proposed by default is the
Z axis.
You can choose another direction, using the contextual menu of the
Direction field:
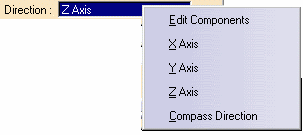
- The Compass Direction option takes the compass
current orientation as the projection direction.
If you want to change this direction, modify the compass
orientation and re-select Compass Direction
to take the new direction into account.
|
-
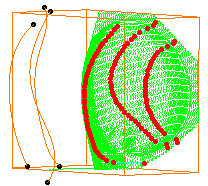
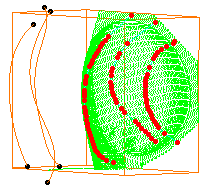
If the target is a cloud of points, you may set the working distance:
the input curve is discretized, and each discretization point is
projected on the cloud.
The working distance is the distance taken into account around each
projection point to compute
the output scan.
Type 10 then 3:
The working distance is 10
The working distance is 3
-
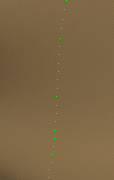
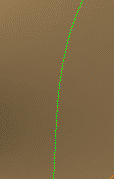
You can set a
sag value:
the curve to project is discretized according to this sag value, and
each discretization point is
projected on the mesh.
The Sag is set to 1
The Sag is set to 0.01
-
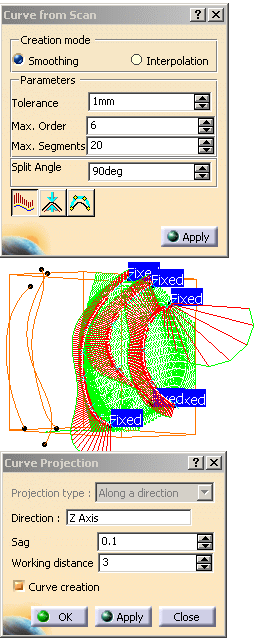
If you
want to create curves, select the Curve creation check box.
The operating mode is the same as for the
Curve from Scan
action except that only the curvature comb
(no curvature analysis dialog box) is displayed.
 |
 |
- If the Curve creation check box is selected, curves
and only curves will be created.
- If the Curve creation check box is not selected,
scans and only scans will be created.
- If you need a complete curvature analysis of the curves you
create, you have to create the scans first,
and then create the curves with the
Curve from
Scans action.
- When you modify a parameter, click Apply in the
corresponding dialog box to take it into account.
|
-
Click Apply to check or update the result.
Then click OK to confirm the result and exit the action.
-
Scans are created in the specification tree under
the name Curve Projection.x.
-
Curves are created in the specification tree under
the name Curve.x.
|
|


