You can adjust the presentation of the measure, edit the measure itself and:
-
Change one of the selections on which it was based. You can also change selections that no longer exist because they were deleted.
-
Replace selections using the replace mechanism (In a part)
This section describes the following editing operations:
Changing Selections
You can change selections on which your measure is based in Measure Between and Measure Item commands. This is particularly useful in design mode where you no longer have to redo your measure.
-
Double-click the measure in the specification tree or geometry area.
-
Make new selections.
Notes: -
In Measure Between, you can change selection modes when making new selections.
For invalid measures where one selection has been deleted, you only have to replace the deleted selection. -
For all other measures, repeat all selections.
-
In Measure Item, you cannot change the selection 1 mode. If you selected a curve, you must make a selection of the same type, i.e. another curve.
-
-
Click OK when done.
Replacing
Selections in a Part

In a part, you can change selections using the Replace mechanism in Measure Between, Measure Item and Measure Inertia commands.
Note: In a product, measures
are not integrated into the Replace mechanism. When you replace a product
on which a measure is made, the measure is no longer valid and links to the
geometry are deleted.
Special case: If your measure was made on a product in the specification
tree, the measure is identified as not up-to-date after you replace the
product.
-
Make your measure using the appropriate measure command.

Important: Selecting features in the specification tree rather than selecting items in the geometry area is highly recommended.
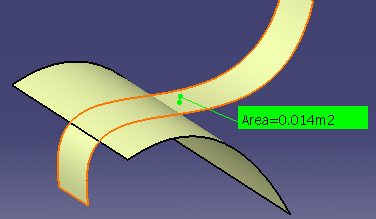
Some items selected in the geometry area may no longer exist as such if you modify the geometry and, in this case, the measure will be invalid ( ).
).
-
Right-click the selection you want to replace and select Replace... from the contextual menu.
The Replace dialog box appears.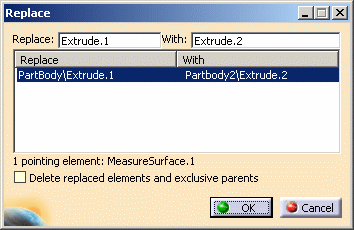

Note: Replacing a selection impacts all items or entities linked to the selection.
-
Make a new selection.
-
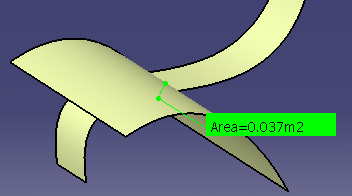
Click OK in the Replace dialog box. The measure is identified as not up-to-date.
-
Right-click the measure in the specification tree and select Local update from the contextual menu to update your measure.
More about Measure Between and the Replace
Mechanism
Note that replacing a selection impacts all items or
entities linked to the selection. When the selection is an element
belonging to a CATPart, make sure you understand the behavior of the
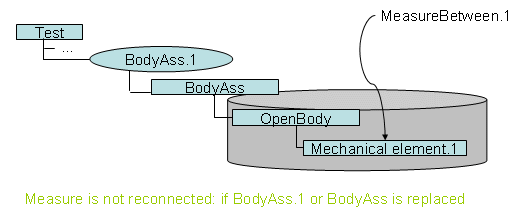
measure between regarding the replace mechanism. The measure between is integrated in the replace
mechanism only in one specific case described below:-
Create a measure between two elements:
-
one element belonging to a CATPart
-
one Part instance
-
-
Replace the Part Instance or the Reference (i.e. BodyAss1 or BodyAss) by another Assembly
-
The measure between is automatically reconnected because the measure between is linked to a Part instance (one of the selection is the part instance or the reference).

-
The measure between is not integrated in the replace mechanism if the measure is linked to an element within a CATPart (a mechanical element or a published element).
Editing the Presentation of your Measure
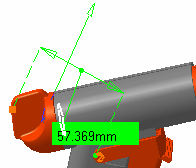
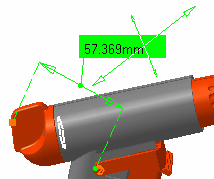
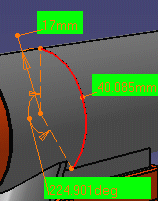
To adjust the presentation of Measure Between and Measure Item measures, you can move:
-
the lines and
-
text of the measure.
  |
|
 |
|
The Properties command (Graphics tab) lets you change the fill color and transparency as well as the color, line type and thickness of measure lines.
Note: You cannot vary transparency properties, the current object is either the selected color or transparent.
![]()
