|
|
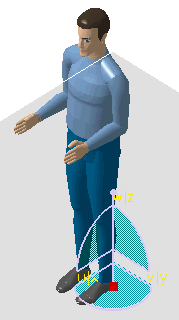
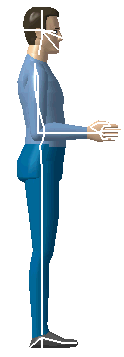
This task describes how to create a standard manikin. Once created, the manikin will appear in the specification tree right under the chosen father product. The manikin will then be a component of the chosen product. |
|
|
|
Manikin tab |
|
|
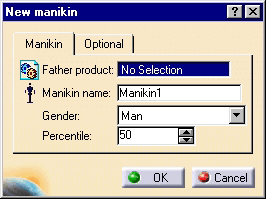
Father product: Since manikins are created inside CATProduct documents, you must select the Father product by clicking the desired document in the specification tree. The Father document's name will automatically be placed in the read-only field. |
|
|
|
|
|
Manikin name: In this field, you can enter a name for the manikin i.e., Driver, Passenger, Machine X Operator, etc. This name is typically used to identify the manikin within the document. Several manikins may have the same name. Please note that if you leave this field blank, the default name will be Manikin1 (2, 3, etc.), and the manikin will be saved under Manikin1.CATProduct.
Gender: In this field, you must choose whether the manikin will be a man or a woman. Percentile: You can choose the percentile (between 0.01 and 99.9) that the new manikin will be built from. |
|
|
In other words, the stature and the weight of the new manikin are both set at the chosen percentile except the 50th percentile, where all the variables are then set at the 50th percentile. All other anthropometric variables are estimated according to the population chosen. |
|
Optional tab
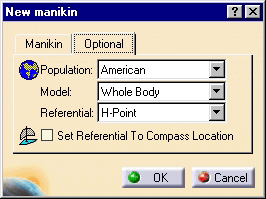
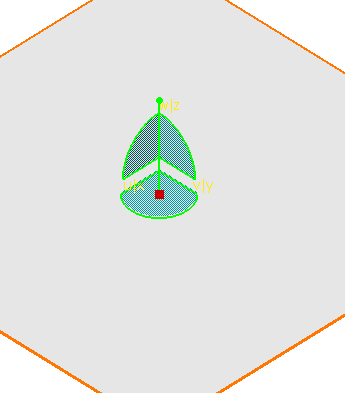
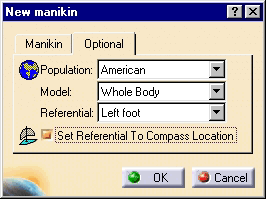
Population: In this field, select the nationality of the manikin from the default set of populations: American, Canadian, French, Japanese, or Korean. Model: In this field, choose the model-type desired: whole body, right forearm, or left forearm. Referential: In this field, choose the initial referential point of the new manikin. The choices are: Eye point, H-Point (default), Left foot, Right foot, H-point Projection, Between Feet, and Crotch. For more information, see the Referential example below. Set Referential to Compass Location: If this parameter is activated, you will be able to assign the initial position of the manikin with the compass, i.e., a plant floor. If the parameter is not activated, the manikin will be displayed at its default position (world origin). For more information, see the Referential example below. |
|
Referential example |
|
|

