|
|
This provides you with a powerful positioning
tool. It takes advantage of the manikin's inverse kinematics capability
to reach the exact position only
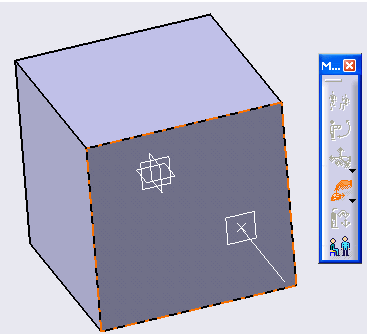
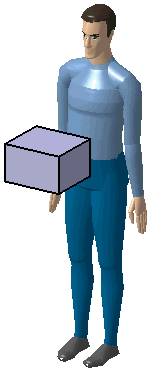
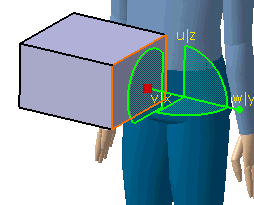
You can select the segment of the manikin to perform the reach (also known as the end effector), then activate the Reach Mode by selecting either of the two Reach icons. The point to reach will be specified by the position of the V5 compass. You then must snap the compass to any existing geometry. As soon as the compass is released, the selected segment automatically reaches the compass's position. |
|
|
More about activating Reach functionalityThe difference between the two is that the resolution is not made the same way; otherwise, the functionality is the same.
|
|
|
More about activating Reach functionalityThe Enhanced Snap for Reach Mode will enable you to get a more predictable and acceptable posture of manikin's segment after a reach using the Reach (Position & Orientation). This will speed up the manikin positioning process by shorting the time of fine tuning the posture after a reach operation. After enabling the Reach (Position & Orientation), select the segment. Then you can directly scan the geometries' surface with the interactive compass or drag the V5 compass just like you did before. Once the desired location on a surface is found, the reaching process is launched by clicking on the left mouse button (LMB) or by snapping the V5 compass. The order of these operations can be inverted. As it was before, the reaching process takes a fraction of second but, at the end, the segment will be perpendicular to the surface at the position of the compass which will have a new orientation based on the 2D (directions) constraint resolution. The segment's twin still appears on the compass and follows the movements of this one for fine tuning. At the end, you will get the compass associated to a Fix On and a segment's twin in order to ease the posture fine tuning. There is no change of the interface apart the presence of the interactive compass for the surface
selection without having to grab the V5 Compass. 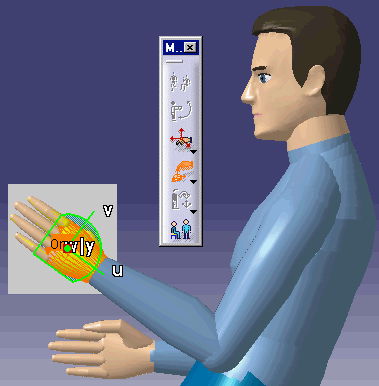 See also Keeping the Settings of a Hand grasp |
|
|
|
|
|
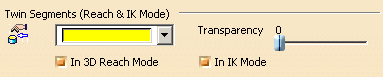
Segment TwinsThis functionality is available only for the Reach (position & orientation) command. When the compass is snapped on a hand or foot in Reach Mode, an image of the entire hand or foot in its current posture will follow the compass. The image will stay there until the Reach mode is exited.
Setting the Twin optionsFrom the main menu, select Tools > Options > Ergonomic Design & Analysis > Human Builder.
|
|
|
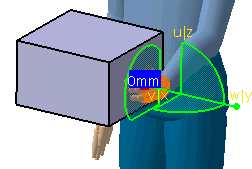
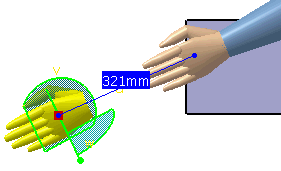
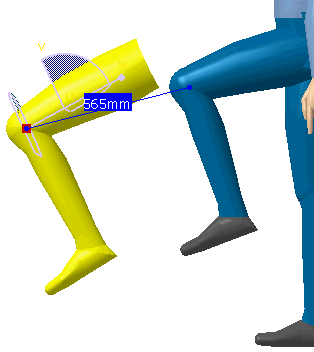
The number displayed at the compass location indicates the distance between the target and the segment. It therefore measures the Reach precision: a distance of 0 indicates a perfect Reach. |
|
|
The Reach distance is also displayed on the status bar
and is updated continuously:
|
The Manikin eyes follow the 3D compass with Reach and IK ModeThis proposes a more natural behavior for the manikin's vision when it is performing a reach or IK on an object. The vision of the manikin is directed to the object the manikin is trying to pick up, which would be more like human behavior. See the Customization Section. |