Modifying a Balloon

This task shows you how to modify a balloon.
Open the Brackets_views03.CATDrawing document. Create a balloon.
1. Right-click the balloon you want to modify.
2. From the contextual menu, select Properties

3. In the Properties dialog box, click the Text tab.


4. You will now define the balloon frame properties from the Frame drop-down list. By default, balloons are assigned a variable-size circle which adapts to the balloon text length. You have other options:
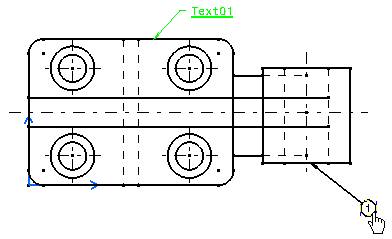
  • You can display the balloon without a frame by selecting the None icon .
  • You can assign a fixed-size frame to the balloon by selecting the fixed-size Circle icon
For more information about fixed-sized frames, refer to Adding frames or sub-frames.
For the purpose of this exercise, select the fixed-size Circle icon
5. Click OK to validate and close the Properties dialog box. The balloon size is modified.


6. Now, double-click the balloon. The Balloon Modification dialog box is displayed. 
The Autofit option is active when the size of the balloon frame is fixed.  


7. Modify the balloon value. 

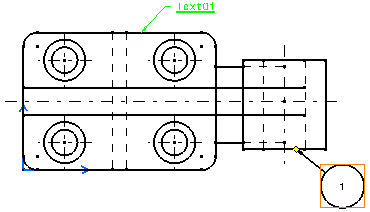
8. Select the Autofit option to adapt the size of the text to that of the balloon frame.

9. Click OK. The text is enlarged to fit within the balloon frame.
In the case of large texts, the Autofit option reduces the text size.
10. You can also modify the anchor point and thereby the position of the balloon.