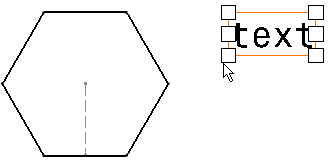
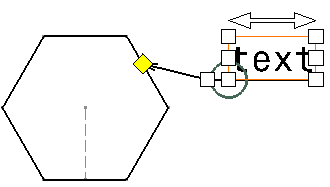
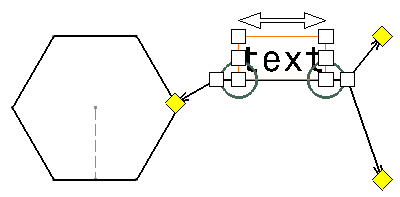
For the purpose of this scenario, you will learn how to add a leader to an existing text, but this functionality is available with other annotation types as well.
Create a hexagon. Create an annotation, a free text for example.
-
Right-click the annotation to which you want to add a leader.

-
Select Add Leader.
-
You have two possibilities:
-
If you want to position the leader freely:
Click where you want to position the leader head. The leader is created.
You can then move it to the desired location using the mouse. You can position the leader breakpoint anywhere on the reference element, and snapping is not used.

-
If you want the leader to be oriented perpendicular to the reference element:
Press the Shift key while clicking where you want to position the leader head. The leader is created: it is snapped, and oriented perpendicular to the element to which it is attached. Release the Shift key and the mouse.


To create as many leaders as required for an existing text, go to Tools > Customize and create the Add Leader command in a separate toolbar. You will then be able to double-click the Add Leader command and click to locate the leader(s) to be created.


If several text elements are selected as you activate the Add Leader command, the selection is cleared. Make sure you select one annotation only. 
The leader remains associative to the text even if you modify the text it is associated with.
-
![]()