- create an attribute link between a hole on the 3D part and the corresponding text in a drawing view
- assign an attribute link to a view
Creating an attribute link between a hole on the 3D part and the corresponding text in a drawing view
-
On the active view, double-click the text to which you want to add a link.
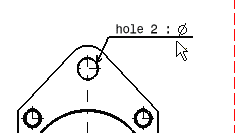
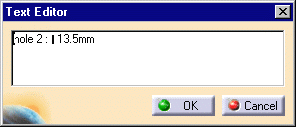
An empty text is created in the drawing. The Text Editor dialog box is also displayed. Do not pay attention to this dialog box yet. -
In the drawing, right-click the text and select Attribute Link.
-
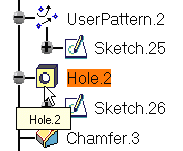
Select the object to which you want the text to be linked, from the specification tree (either from the 3D or from the CATDrawing document).
For example, select Hole 2 from the CATPart specification tree.
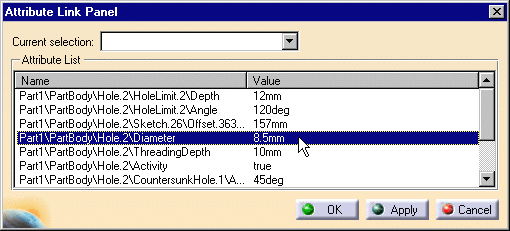
The Attribute Link Panel dialog box is displayed in the Drafting window:
-
Select the "Part1\PartBody\Hole.2\Diameter 8.5mm" attribute from the list.
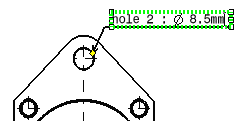
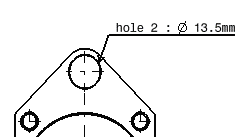
The 8.5mm value automatically appears both in the Text Editor dialog box and on the CATDrawing.

-
Click OK to validate and exit the dialog box.
-
Modify the diameter value of Hole 2 on the CATPart. For example, change it to 13.5mm.
Click Update in the CATDrawing.
The views generated on the CATDrawing and the text attribute value are
updated to take this modification into account.
Assigning an attribute link to a view
Creating a parameter
-
Click the Formula icon
 from the Standard toolbar.
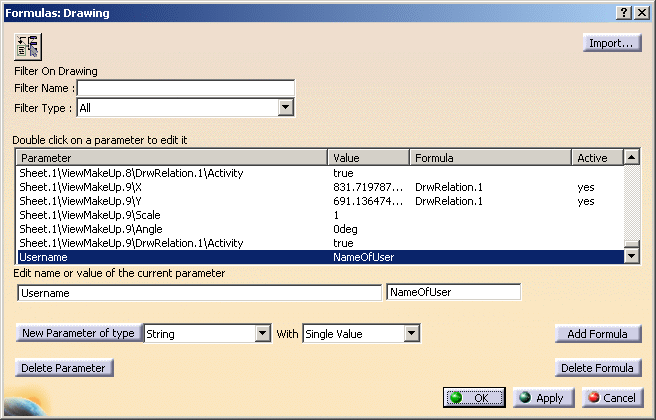
The Formulas: Drawing dialog box is displayed. -
In the drop-down lists next to the New Parameter of type button, choose the String with Single Value type.
-
Click the New Parameter of type button.
-
In the Edit name or value of the current parameter fields, replace String.1 by UserName in the first field, and enter the value, i.e. NameOfUser in the second field.
-
Click Apply and then click OK. The parameter is created, and it is displayed in the Drafting specification tree, under the Parameters node.

If the Parameters node in no displayed in the Drafting specification tree, go to Tools > Options > General > Parameters and Measure, Knowledge tab, and check the With value and With formula options.
Defining the Text Attribute
-
Click the Text icon
 from the Annotations toolbar and click in the free space
(under the Front View - Scale:1 text, for example).
An empty text is created in the drawing (in the active view). Also, the Text Editor dialog box is displayed. Do not pay attention to this dialog box yet. -
In the drawing, right-click on the empty text and select the Attribute Link option from the contextual menu.
-
From the specification tree, select the object which you want the text to be linked to. For example, select the CATDrawing document (GenDrafting_part_02 item at the very top of the specification tree). The Attribute Link Panel dialog box is displayed.
-
Scroll down the list and select UserName in the Attribute List.
-
Click OK. The value assigned to UserName, i.e. NameOfUser, is displayed in the Text Editor dialog box as well as on the drawing view.
-
Click OK to close the Text Editor dialog box.

Modifying the Text Attribute
-
Double-click the UserName parameter in the specification tree. The Edit Parameter dialog box is displayed.
-
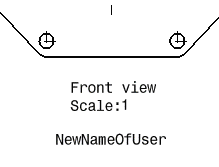
Change the parameter name (NameOfUser) to NewNameOfUser.
-
Click OK. The parameter name is automatically updated on the view.
![]()