-
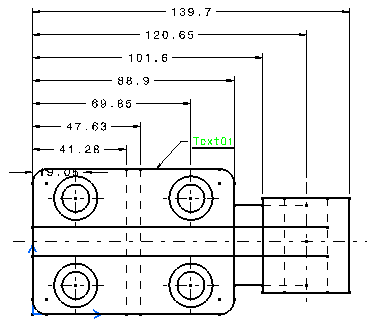
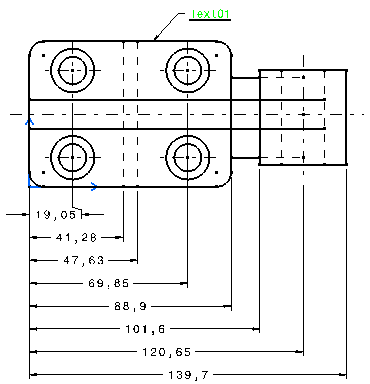
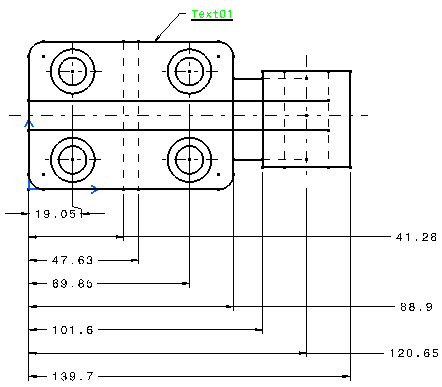
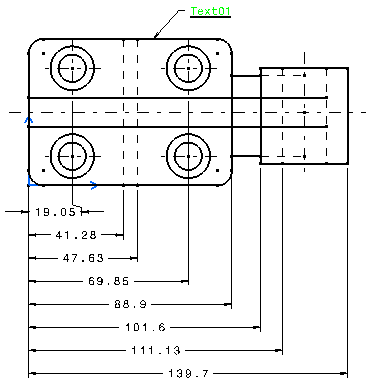
Create a stacked dimension system including several dimensions as shown below.
Moving a Dimension System
-
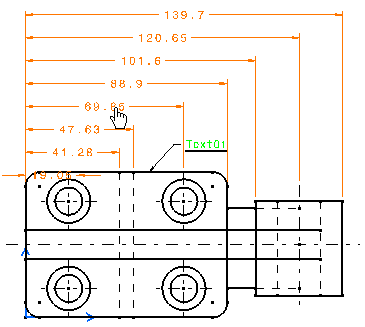
Click over the dimension system to select it.
The whole system is highlighted.
-
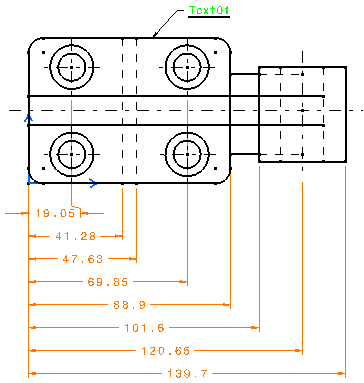
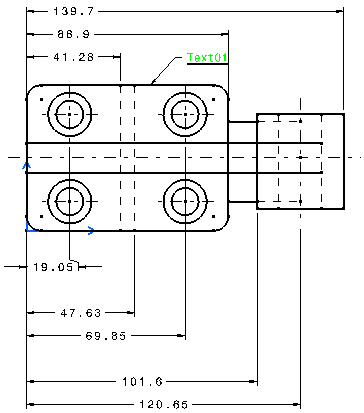
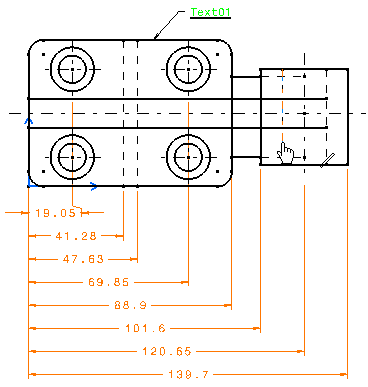
Drag the whole system below the drawing.
-
Click in the free space to end the stacked dimension system selection.
Moving a Dimension
-
Right-click on the Dimension system and select Properties in the contextual menu.
-
In the System tab, set the Offset mode to Free, then click on OK.
See Editing Dimension System Properties for further information on the Properties' dialog box. -
In the Tools toolbar, click Dimensions system selection mode
 to deactivate the dimension system.
 -
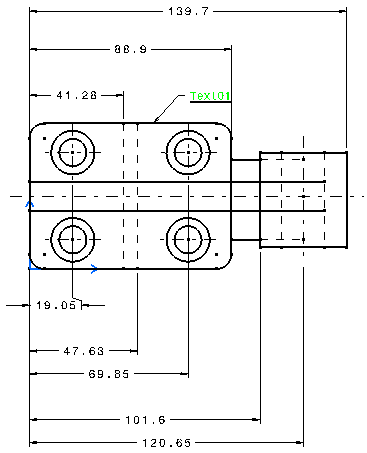
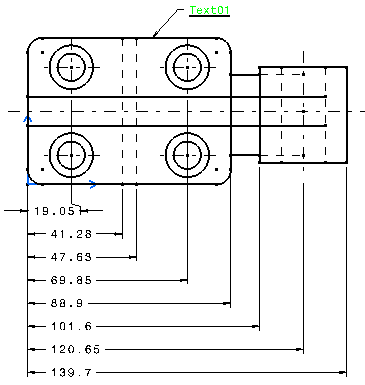
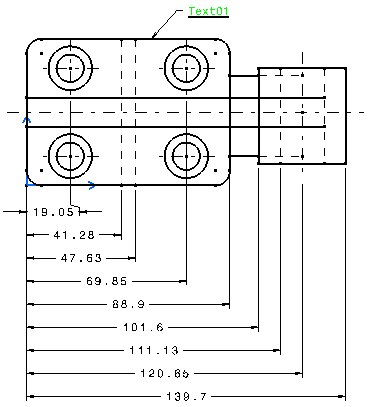
Select several dimensions and drag them above the dimension system.
-
Click in the free space to end the dimension selection.
Aligning a Dimension System
Restoring a Value Position
-
Make sure Dimensions system selection mode icon
is activated in the Tools toolbar. -
Right-click on the Dimension system and select Properties in the contextual menu.
-
In the System tab, set the Dimension values alignment at 10mm from the Reference line.

-
Click on Apply to visualize the Dimension values alignment.
-
Click on the Dimensions system selection mode
to deactivate the dimension system. -
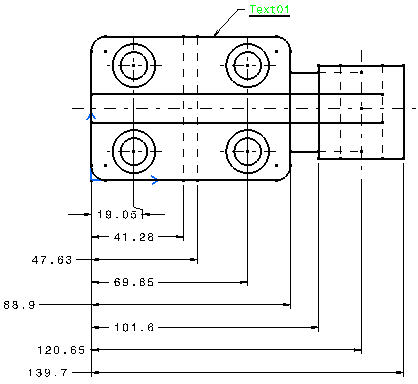
Move some of the dimensions.
-
Click on the Dimensions system selection mode
to activate the dimension system again. -
Right-click on the dimension system and select Restore Value Position.
The dimensions' values are back to their initial position.
-
Click on the Dimensions system selection mode
to deactivate the dimension system. -
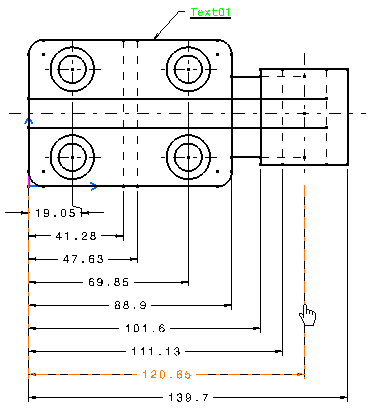
Drag several dimension values to modify their position.
-
Multi-select the dimensions.
-
Right-click and select Restore Value Position in the contextual menu.
The dimensions' values are centered back in the system.

Adding a Dimension into a System
-
Make sure Dimensions system selection mode
is activated in the Tools toolbar. -
In the System tab, set the Offset mode to Constant, then click on OK.
See Editing Dimension System Properties for further information on the Properties' dialog box. -
Go to menu Insert>Dimensioning>Dimensions and select Stacked dimensions.
-
Select the system you want to insert a dimension to.
-
Select the geometry to dimension.
The new dimension is inserted into the system and is automatically aligned into the system.
Deleting a Dimension from a System
-
Make sure Dimensions system selection mode
is deactivated in the Tools toolbar. -
Select a dimension.
Note that only the selected dimension is highlighted, not the whole system.
-
Press Del key.
The dimension system is updated accordingly automatically aligned.
Copying a Dimension System
-
Make sure Dimensions system selection mode
is activated in the Tools toolbar. -
Select the geometry and its associated dimension system and click on the Copy icon.
-
Create a new view and select it.
-
Click on the Paste icon:
The geometry and its dimension system is pasted in the view.
If the dimension system offset mode is set to Constant, an automatic line-up is applied to dimension lines and values in case you perform any of the following action:
- Adding a dimension to a system
- Deleting a dimension to a system
- Updating the 3D geometry
- Applying a style to a system
For more information on the Constant and Free Offset mode, refer to the Editing Dimension System Properties section.
![]()