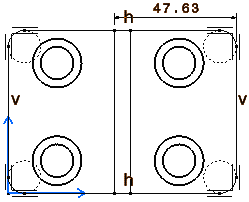
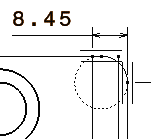
-
Click Select
 ,
if needed.
 -
Right-click the dimension to be modified.

-
Select Properties. The Properties dialog box is displayed.
-
Click on the Value tab.
-
In the Value Orientation area, there are three options in the Position field:
-
Auto: positions the value inside the area between extremity symbols whenever this is possible; otherwise, positions it outside.
-
Inside: positions the value inside the area between extremity symbols.
-
Outside: positions the value outside the area between extremity symbols.
-
-
Select Auto.
If you change the dimension from now on, and the value does not fit inside the area between extremity symbols, the value will be automatically positioned outside. Try it by reducing the dimension as shown in our example.


- The Auto position of the dimension value will be disabled if you modify the position of the dimension value text using the mouse (i.e. if you manually move it). You can restore the original position of the dimension value by right-clicking the dimension and selecting Restore Value Position from the contextual menu.
- If you switch between Auto, Inside, and Outside, make sure the dimension value is properly positioned by restoring the original position of the dimension value (use the Restore Value Position option from the contextual menu).
![]()