De-Synchronizing a Scene from its associated Assembly

An important use of Scenes is the possibility to create a reference of an assembly. This enables you to continue working on the assembly, knowing that you can always return to a given reference point. This task shows you how to de-synchronize all components in a scene from the associated assembly so that their new position can be used as a reference. 
You must have created a scene. See Creating Scenes.
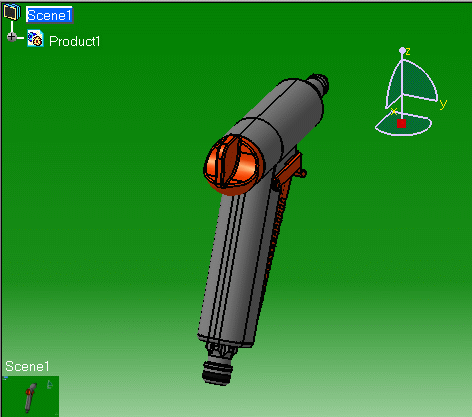
1.  Double-click Scene 1 in the specification tree or double-click the Scene 1 icon in the geometry area to swap to the scene window.


Scene 1 appears.

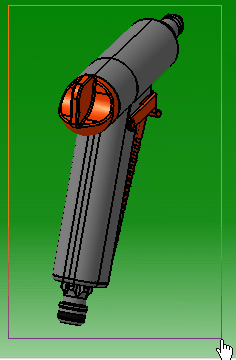
2. Drag the cursor across the geometry area so as to select the entire product and release.

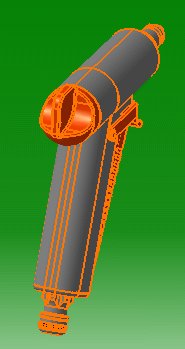
The entire product is selected.

   
3.  Click the Reset selected products icon I_ReplaceComponentP2.gif (289 bytes)

The scene is now de-synchronized from its associated assembly. 
You can now use the scene as a reference point to which you can return at any time while working on your assembly. (See Applying a Scene to an Assembly.)


Note that if you displace a component within a scene, this will also have the effect of de-synchronizing all components having the same parent as the moved component.