-
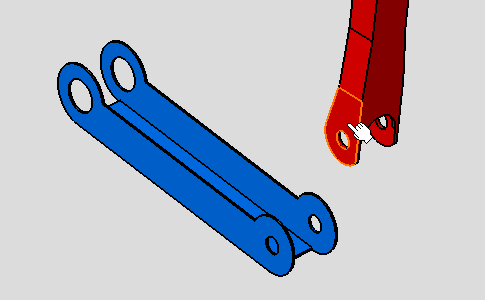
Select the face to be constrained, that is the red face as shown.
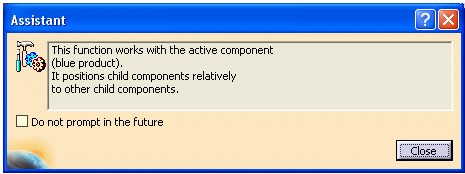
The Assistant message box appears as shown below if it is the first time.
-
Select the “Do not prompt in future checkbox" and click the Close button.
-
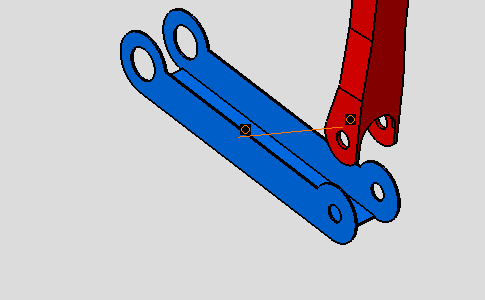
Select the second face to be constrained, that is the blue circular face in the direction opposite to the red face.

Green arrows appear on the selected faces:
-
They appear only when the orientation of the selected elements is taken into account in the coincident constraint and indicate how the selected elements is designed during the assembly update.
-
The arrow on the first selected element is the reference arrow and its orientation cannot be modified.
-
Double-clicking of any of arrows changes the orientation of the arrow on the second selected element. See also constraint orientation in the Constraint Properties dialog box.
-
Arrow orientations are kept in the constraint and are displayed as they have been specified when editing the constraint.

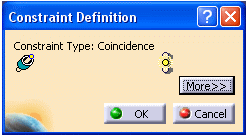
The Constraint Definition dialog box appears.
-
Click on the More button.
The following dialog box appears.
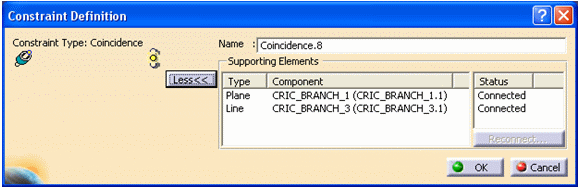
The Constraint Properties dialog box displays the constraints properties:
-
The constraint type icon:

-
The status is represented by a traffic lights icon:
-
 verified.
 -
 impossible.
 -
 not updated.
 -
 broken.
-
-
Name: the constraint name, here Concidence.8
-
Supporting Elements: the type of geometrical elements involved in the constraint, their related components, and their connection status are displayed.
-
Orientation: appear only when the orientation of the selected elements are taken into account in the coincident constraint:
-
Undefined: (the application computes the best solution)
-
Same: geometrical element orientations are the same.
-
Opposite: geometrical element orientations are opposite.
-
-
Click OK to create the coincidence constraint.

-
Update the assembly if needed.
-
The application chooses which component is to be moved to adopt its new position. As the assembly is not iso-constrained, any component can be moved. In other words, you cannot control which components can be moved.
-
Green graphic symbols are displayed in the geometry area to indicate that this constraint has been defined.
-
The constraint is added to the specification tree too.
Graphic symbols used for constraints can be customized. For more information, refer to Customizing Constraint Appearance.