This task shows you how to add beam mesh to a Generative Shape Design CATPart.
This command is available both in the Generative Structural Analysis workbench and in the Advanced Meshing Tools workbench.
-
You cannot select a sketch geometry.
-
You cannot mesh 1D body belonging to hybrid body.
Generative Structural Analysis Workbench
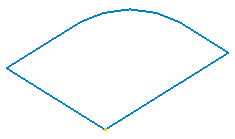
Open the sample47.CATAnalysis document from the sample directory.
-
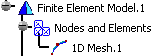
Click Beam Mesher
 in the Model Manager toolbar.
 -
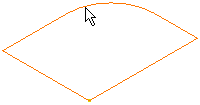
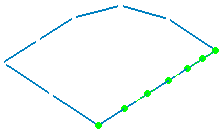
Select the beam to be meshed.
-
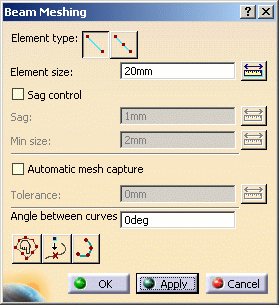
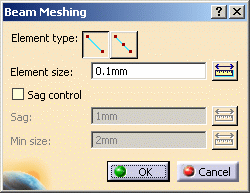
Select the desired Element Type.
In this particular example, click the
 button to select linear as element type.
 -
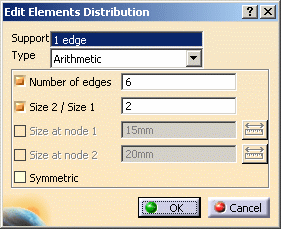
Enter the desired Element size value in the Beam Meshing dialog box.
In this particular case, enter 3mm.
-
Activate the Sag control option in the Beam Meshing dialog box.
-
Modify the Sag control parameters if needed.
-
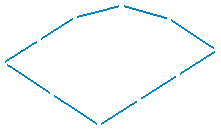
Click OK in the Beam Meshing dialog box.
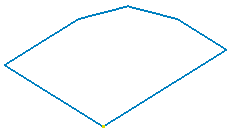
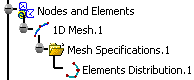
The 1D Mesh.2 feature now appears in the specification tree. Note that now the corresponding Beam Property is missing.
For more details on how to add this Beam Property, refer to Creating Beam Property in the Generative Structural Analysis User's Guide.
- To apply a restraint, a load or a connection to one extremity of a beam, you need to first put the point that were possibly created at the extremity of this beam, in order to build the wireframe, into the Hide mode. As result, to apply the above mentioned specifications, you will select the extremity of the wireframe and not the hidden point (small cross in the 3D view) as this point is not linked to the mesh.
- You cannot apply beam properties and 1D mesh parts on geometry included in a sketch.