|
-
Click Instantiate From Document
 or select Insert > Instantiate From Document... from the menu
bar.
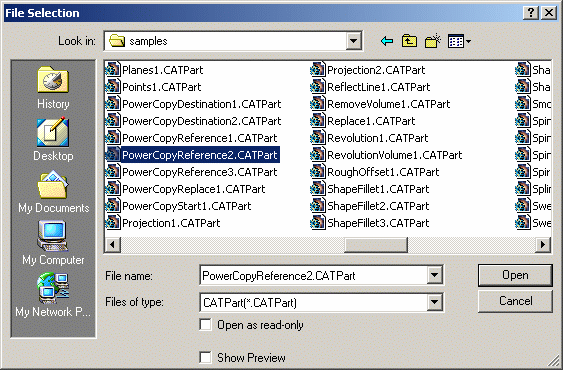
| The File Selection dialog box is displayed allowing you to
navigate to the document where the Power Copy is stored. |
 |
-
Select the document containing the Power Copy, and click
Open.
| Here we selected the
PowerCopyReference2.CATPart document. |
| The Insert Object dialog box is displayed. Warning or error messages can be issued if the chosen
destination is ambiguous or forbidden, for instance if you select an
ordered geometrical set as the After destination.
-
In case
of an error message, the destination field is emptied and the
OK button is unavailable.
-
In
case of a warning message, the power copy can still be instantiated
but some elements may not be inserted in the chosen destination.
|
| Use the Reference list to
choose the correct PowerCopy when several have been defined in the
document. |
-
Select the Part comparison instantiation
mode.
-
Select the Destination
of the instantiation.
|
It is
composed of two elements: a combo list corresponding to the relative
position (Inside or After) and a field
containing the destination feature. |
|
The destination depends on the current feature
as it is automatically filled with the latter. If
there is no current feature, the field is empty. |
-
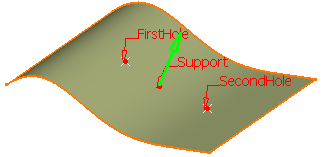
Complete the Inputs within the dialog box by
selecting the adequate element in the geometric area.
| After each selection, an indicator is displayed in the left
viewer, with orientation when necessary. Click on the green arrow to
reverse orientation if needed. |
  |
-
If needed, click Use identical name to
automatically select all the elements with the same name.
| This is especially useful when the input is the same one repeated
several times. |
-
You can also click Parameters to display the
Parameters dialog box and modify values.
| Here we increased the Radius1 value to 25 mm. |
-
Click OK
to create the Power Copy instance.
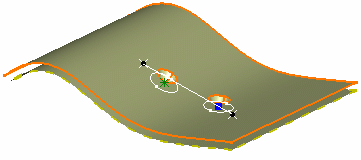
| A PowerCopy Instances node is automatically created in the
specification tree of the current document. The Comparison Window
opens on the right side of the screen and the Scan and
Synchronization toolbars are launched. |
 |
| |
 |
Note that:
- All the inputs must have been provided before launching the
instantiation. Otherwise, the OK button is grayed out.
- Instantiated features are not updated to let you update them
one by one and check the consistency of the result.
- The current feature is not yet synchronized at this step. It
allows you to see the result of the Power Copy on the right side.
- A new PowerCopy Instances node has been created in current
document. This node allows the mapping between referenced objects
and instantiated objects.
|
|
|
When editing a
feature in the Comparison Window, the edited feature is highlighted
simultaneously on both left and right sides of the screen, in
specification trees and 3D areas. |
 |
-
Click First
 or First to update
 . .
| The Scan command is automatically launched. |
-
Then
click Next
 or Play update
 to scan the instantiated features and update them.
 |
Only the Structure mode is
available here. |
| |
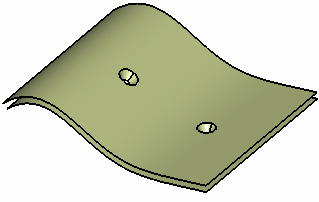
| All the inputs of TwoSurfacicHoles are valuated. |
 |
-
Close the Comparison window.
 |
 |
- Now if you launch the
Quick Select command
 ,
either in the left or in the right window, the visualization is
updated in both windows: pre-highlighting is synchronous and a
color code indicates the current selection (green labels) in the
Quick Select dialog box and the parents/children (red labels). ,
either in the left or in the right window, the visualization is
updated in both windows: pre-highlighting is synchronous and a
color code indicates the current selection (green labels) in the
Quick Select dialog box and the parents/children (red labels).
- Once the Power Copy has been instantiated, you can close the
comparison window and delete the Power Copy Instance features.
|
 |
The
feature defined as the current object corresponds to the last
instantiated component of the Power Copy. |
|
![]()