You can also use scaling and affinity functions to take account of shrinkage.
More information about the parameters is available in the Import Model Parameters chapter.
- a CATPart named MoldedPart
- some surfaces inside the CATPart Molded Part.
If there is a CATPart named MoldedPart inside a CATProduct, then this
CATPart can be activated as opposed to the CATProduct to create the import.
When the product is activated and the import is requested, then by default
the created CATPart is named Moldedpart.
-
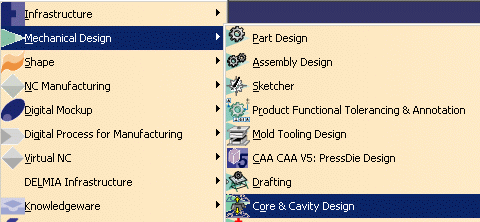
Select a CATProduct and open the workbench via Start > Mechanical Design > Core & Cavity Design.

-
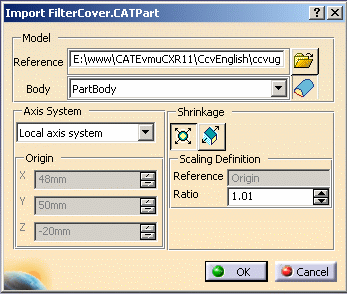
Click Import model
 in the Import Model toolbar.
Choose file FilterCover.CATPart from the samples/SliderDirection directory.
Select a local axis system and enter a Scaling ratio of 1.01.

-
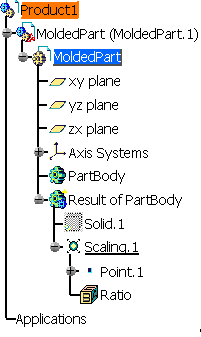
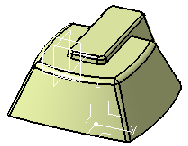
Click OK. The solid is imported and created in the screen and in the specification tree.


![]()