![]()
You can access the workbench from the Start>Name_of_the_workbench menu. Workbenches generated using the BKT application are located at the top of the Start menu.

Workbenches generated using the BKT application are similar to the other CATIA workbenches:
|
|
|
 |
|
|
Note that the menu bar displayed at the top of the window depends on the Workbench type selected (Product, Part, or System) by the Expert User when generating the workbench. |
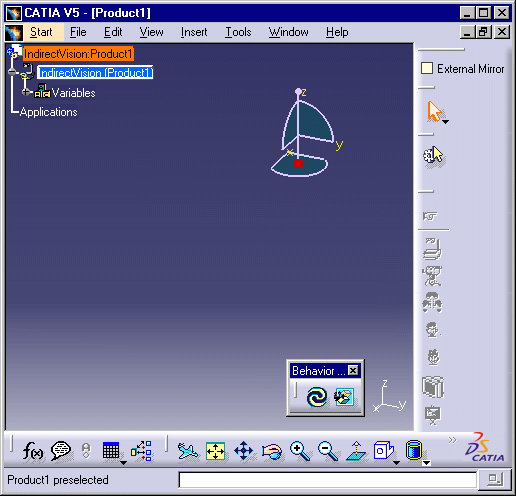
When opening your application, the toolbar specific to your workbench is
grayed out meaning that it is disabled (see the picture above). To activate
your toolbar, click the root product in the specification tree and click the
![]() icon to initialize the
assembly context in the selected product: The toolbar is enabled and you can
start instantiating your objects.
icon to initialize the
assembly context in the selected product: The toolbar is enabled and you can
start instantiating your objects.
 |
To initialize the process and to create your first object, click one of the icons in your workbench toolbar, then click the root product in the specification tree to assign it the corresponding object type. The name of the root product changes accordingly. Each icon of your workbench corresponds to one object type. To see how to use objects, see Executing Behaviors.
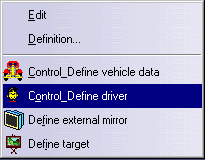
The objects are assigned behaviors. To access these behaviors, right-click
the root product and select the command. To see how to execute behaviors, see
Executing Behaviors.
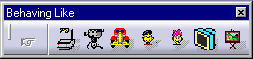
In the picture below, IndirectVision is provided with 4 behaviors:
|
|
|
|
") |
|
Note that:
Available menus Definition...: Enables you to access the Attributes tab where you can add, modify, and delete variables (attributes) values. To know more, see Editing Behaviors. Define vehicle data: Behavior defined by the expert user, specific to this object enabling you to select a vehicle and to insert it into the Product. |
|
|
|
After a behavior is executed, its name is prefixed with
"Control" in the contextual menu (see picture
opposite). If you want to re-execute the behavior:
|
 |
After editing a behavior, you may want to re-operate your behaviors. The Operate function enables you to update your features and re-execute your behaviors. To do so, you can:
Click the Operate
![]() icon in the Behavior Controls toolbar OR
icon in the Behavior Controls toolbar OR
Right-click the object in the specification tree and select the Operate>Operate command.
 |
To get an example, see Editing Behaviors.
|
|
To know how to use your workbench, contact the expert user who generated it. |