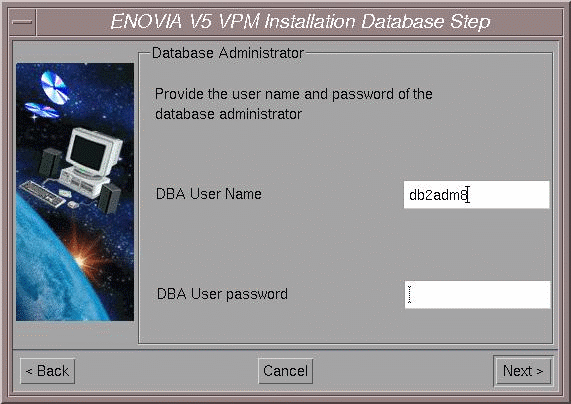
In the case of Oracle, use the Database Administrator user name and password created when installing Oracle on the workstation. This is often, for example:
SYSTEM

     MANAGER
The Database Administrator User (DBA User):
- has the privileges to administrate the Database
- creates tablespaces (spaces for the data structures that will contain the data)
- is not necessarily a UNIX User.
2. Enter the password for the database administrator.
Note: The Administrator's User Name and Password must already exist as a UNIX User Name and Password. Both of these entries are case sensitive.
3. Click the Next button to move to the next step.
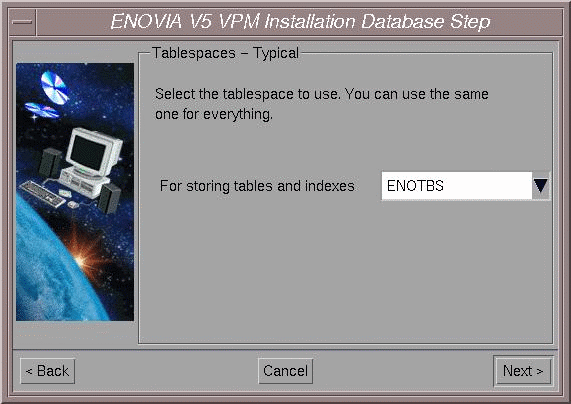
The Tablespaces - Typical dialog box appears.
The dialog box looks like this on DB2:
and like this on Oracle:
4. On DB2, select the appropriate tablespace from the list.
All tables and indexes are created in one tablespace. A second tablespace is used for BLOB data.
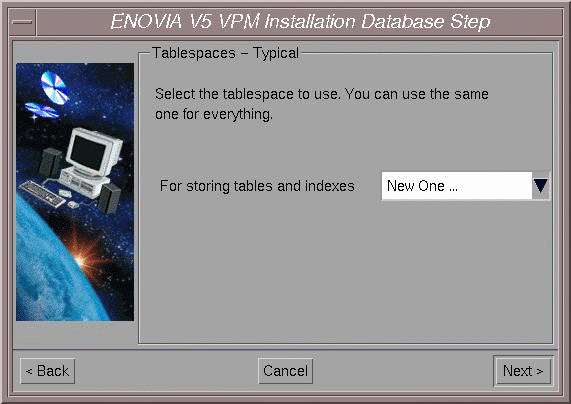
Note, however, that the New One... option for creating new tablespaces does not appear if you are performing a Complete installation.
We recommend that you create new tablespaces: one for the storage of tables and indexes and one for the storage of BLOBs.
Select the tablespace you wish to use for storing tables and indexes from the selection list.
Select the tablespace you wish to use for storing BLOBs from the second selection list.Note: The tablespaces must be local to the machine on which you are installing ENOVIA V5 VPM in order to have the option to create new tablespaces.
Click the Next button to move to the next step.
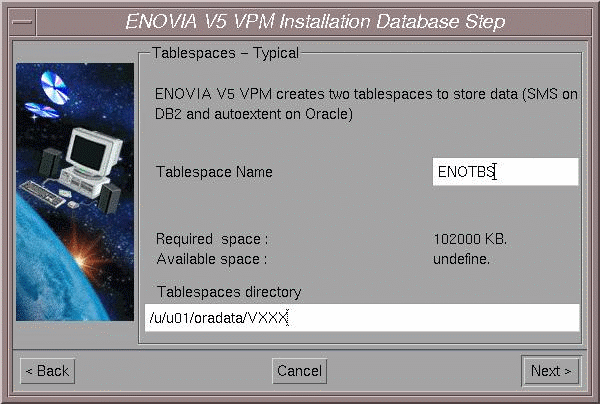
If you are creating a new tablespace, the Tablespaces - Typical dialog box appears.
Use the default tablespace name ENOTBS, and enter the correct Tablespaces directory.
The dialog box then looks like this on Oracle:
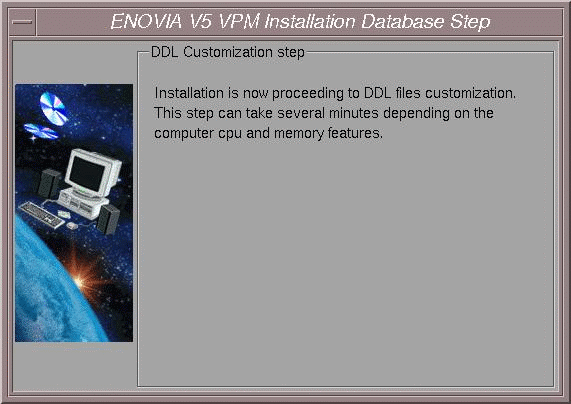
The DDL Customization Step dialog box appears, informing you that the software is compiling the DDL files. This step takes several minutes.
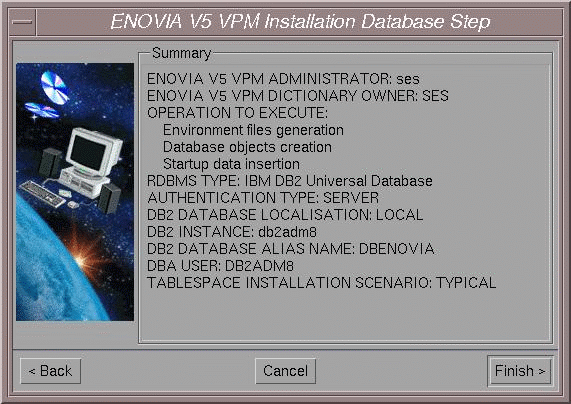
A summary is displayed of the different installation options you have chosen.
It looks like this for DB2:
and like this for Oracle:

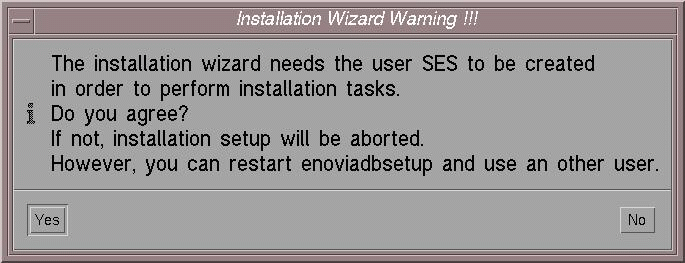
At this point, Oracle needs to create an Oracle user authorized to
create the necessary tables in the database. the setup procedure proposes
the creation of the same user name as the one you used at the start of the
database setup procedure to create the
ENOVIA V5 VPM Administrator. In our
example, the name was SES.
Click the Yes button to continue setting up the database.
Clicking the No button at this point aborts the database setup.
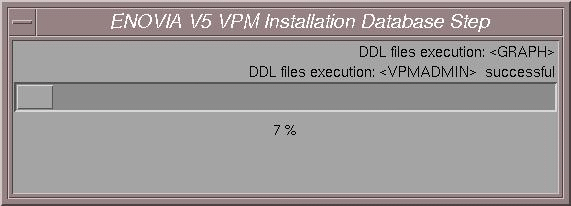
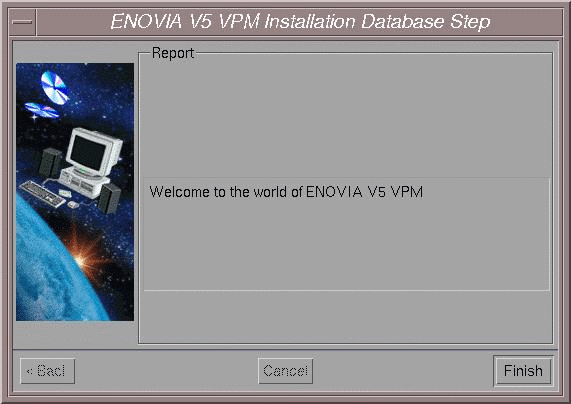
When the database setup has completed successfully, a message appears welcoming you to the world of ENOVIA V5 VPM:
