 |
This task shows you how to insert and
position a component as the same operation. |
 |
This functionality is an enhancement of the
Insert Existing Component command for Assembly Design workbench. The Smart
Move interface enables the easy positioning of inserted components in
the assembly, at the very moment of their insertion. It also enables
the positioning by creation of constraints. If there is no geometry to
position when the component is inserted, this functionality has the same
behavior as the Insert Existing Component command and visualization. See
Smart
Move or
Smart
Move with Viewer. |
 |
Open the
MovingComponents01.CATProduct document. |
 |
-
Click the Existing Component with Positioning
icon:

|
| |
-
Select Product1 in the specification tree.
The
File Selection
dialog box appears.
|
| |
-
Select the
CRIC_JOIN.CATPart document in the File Selection dialog
box.
|
| |
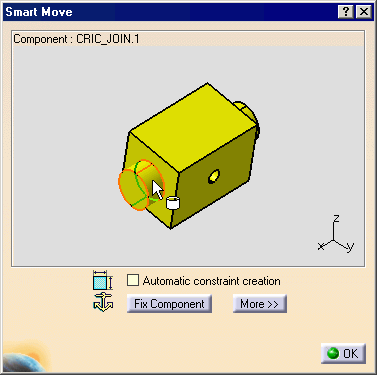
The Smart Move dialog box appears
as shown below. |
| |
 |
| |
The Fix Component command is now
available from this dialog box. |
| |
-
In this dialog box, select the axis of the part.
|
| |
 |
| |
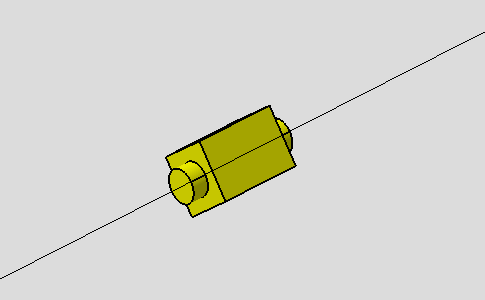
The axis is displayed on the part in the
geometry window. |
| |
 |
| |
-
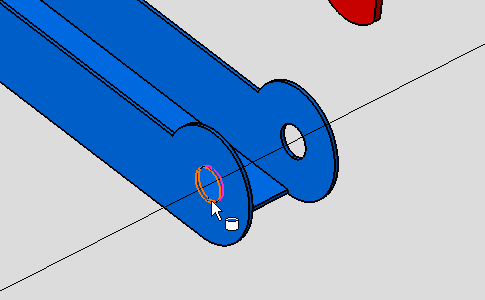
In this geometry window, select the axis of the
CRIC_BRANCH_3 part.
|
| |
 |
| |
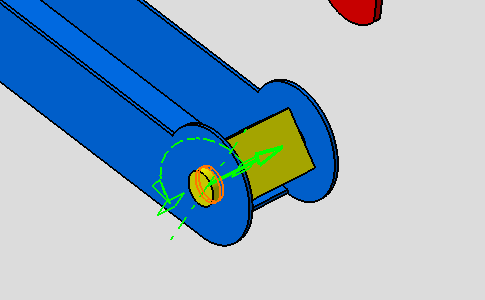
CRIC_JOIN is snapped with CRIC_BRANCH_3 part. |
| |
 |
| |
-
Click OK in the Smart Move dialog
box.
|


