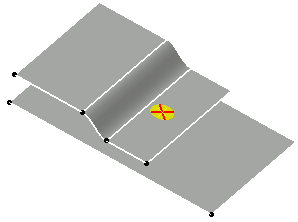
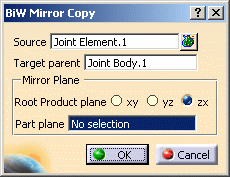
This task shows you how to create a Mirror/Copy element, either within the same product or two different products.
In this scenario an example with a Joint Element is given, but you can also select a joint body or an assembly joint.
Open the Joint2.CATProduct document.
-
Select the joint element from the specification tree.
-
Click Mirror Copy
 in the Automotive BiW Fasteners toolbar.
 -
Select a Root Product Plane or a part zone on which you wish to paste the body.
-
Click OK.
The mirrored spot point is created. 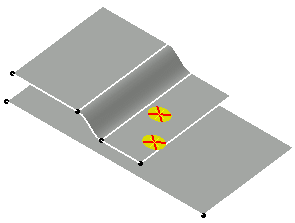
Here we selected xy as the Root Product Plane 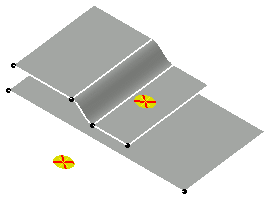
Here we selected Blend.1 as the Part plane -
Double-click this new element from the specification tree.
The BiW SpotPoint Fastener Definition dialog box opens. 
The spot point is created as explicit. 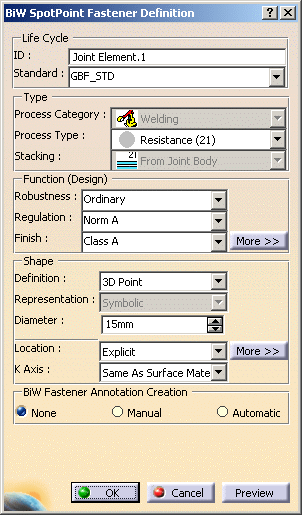
-
Select the On Surface location.
-
Select Blend.1.
-
Click OK in the dialog box.
The spot point is relocated upon the selected surface. 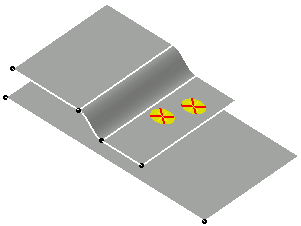
Mirrored objects follow the same rules as pasted objects, with an additional symmetry applied on explicit coordinates of Joint Elements.
When the source element is a joint, the Parent target allows to multi-select parts in the target product to be reconnected.
When the naming rule is not active, the copied elements have the same name as the source elements.
![]()
