-
Check the Show Shape option in Tools > Options > Shape > Automotive BiW Fastening > Display. Only this option must be checked.
-
Choose Any geometry as the Selection mode, and Approximate as the Calculation mode, as the fastener representation is a symbolic shape representation (the Exact mode is not supported) in the Measure Between dialog box.
-
Fasteners must be selected in the 3D geometry. Selecting fasteners in the specification tree is not supported.
![]()
-
Select Measure Between
 .
.
The Measure Between dialog box appears. 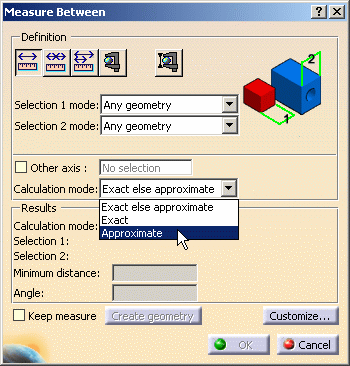
-
Select two fasteners in the 3D geometry.
Appropriate distance values are displayed both in the 3D area and in the dialog box. 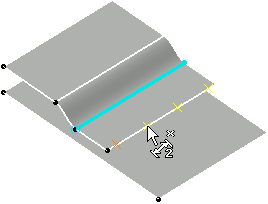
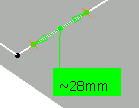
Measuring between two spot points 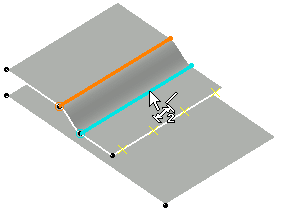

Measuring between two curve beads -
From the Measure Between dialog box, click Measure Item
 (you can also select this icon from the Measure toolbar).
The Measure Item dialog box appears. 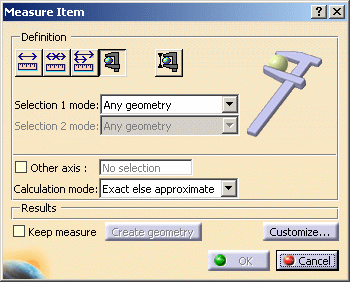
-
Select the fastener in the 3D area.
Appropriate values are displayed both in the 3D geometry and in the dialog box:
coordinates for spot points and length for curve beads.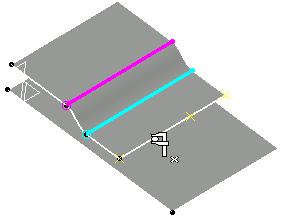
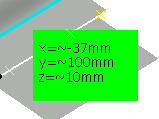
Measuring a spot point 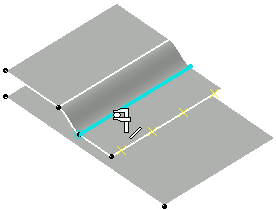
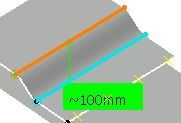
Measuring a curve bead -
Click OK to exit the command.

You can customize the properties you want to see displayed by clicking the Customize... option.
![]()