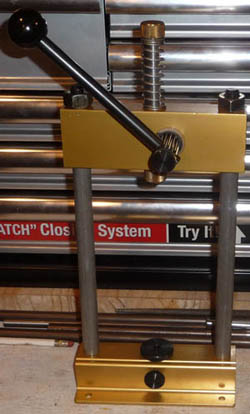
B-Square Super MagArbor Twin Post
Arbor Press - B-Square #: T0050
All Purpose Arbor Press, Twin Post Arbor Press, Super MagArbor Press
(Seems to be gone in 2006)
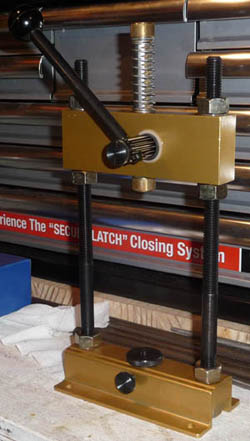
If someone has the Instructions or User Guide, please send me a
copy! HERE
B-Square Mag Twin Arbor Press easy and quick assembly
modification (Almost complete!)
Never letting up on "what if", I thought of using
my Mag Arbor Press on the range. Cool, but keeping it fully
assembled makes it blocky. When it was shipped to me, it was all
knocked down, and was relatively compact. Upon looking at the
design, and the actual thrusts, it became clear that the inner hex
nuts on the 1/2-13 stud were only there to keep the bottom and top
crosspieces apart. They do not have to deal with any force (other
than gravity) that is trying to compress the two cross pieces
together. Another function of the two inner hex nuts is to keep the
stud from turning while the outer hex nuts are tightened. The bottom
hex nut (under the bottom crosspiece) has to be able to withstand
the pull exerted during bullet seating.
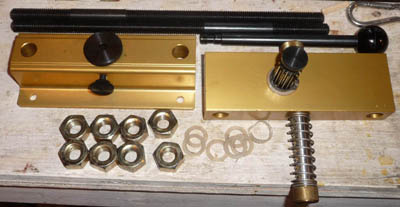
So, with these mechanical facts in mind, I bought
two 7.5 inch [ed. looks like 6.5 inch is better] long pieces of 6061
tubing, 5/8 OD, .509 ID, wall of .058. These will replace the two
inner hex nuts on each stud. I bought two pieces of 1/2x7/8x1.125
[ed. use 1" stock, see below!] steel to drill n tap to 1/2-13, and
will loctite them to the bottom end of each stud. This will just fit
in the recess in the bottom cross piece (1.2 ish wide) , preventing
any turning while tightening the upper fastener. I just bought two
1/2-13 threaded nuts to replace the top hex nut. The whole
shebanga-bang should quickly assemble or take-down, and store in a
relatively small space.
The extra bits could be easily fabricated from
stock, but I let the good folks at Speedy Metals do the cutting (cut
square, cut clean, and fast shipping). McMaster had the knurled
nuts, with no minimum order. You could buy 1/2-13x12 T Bolts, but
they are about $5 each.
Knocking it down will result in two t-bolts, each
with it's own aluminum tubing spacer, a washer, and a knurled nut on
it. The upper and lower crosspieces. Assembly should be quick,
unscrew the knurled nuts, slide the spacer and washer off each
t-bolt, stick the end of each t-bolt through the bottom crosspiece,
add the spacers, put the top crosspiece on the bolts, add the
washers, then fasten things down with the knurled nuts. QED.
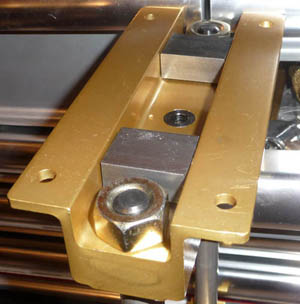
Stock metal for T Bolt
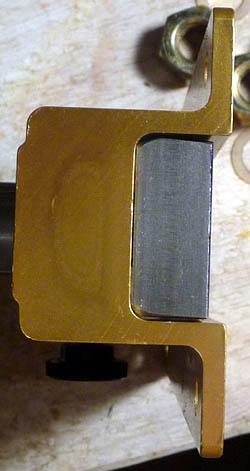
heads. They were a bit over, with the rounded angle of the B-Square
base interfering. I recommend having the stock cut to 1", for less
machining. I will be putting a 45 degree chamfer on the upper ends
so they fit the underside of the base. Note that the farther T Bolt
head is not flush with the base (nor is the other head flush!).
Cranking down on the top nut would apply pressure on the ends of the
T Bolt head, not what I want...
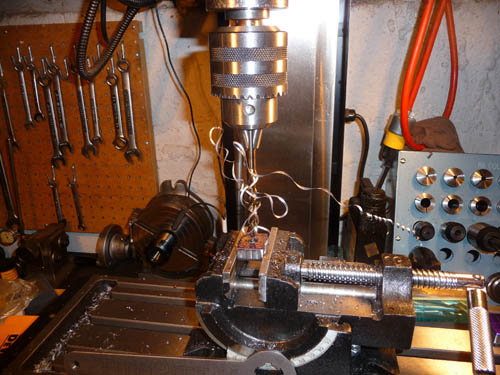
I found grinding the extra off of the T Bolt
stock to be tedious. Instead, I mounted a vise, used a 90 degree
square to align the stock in the jaws, and milled one end down.
Measured the machined block, came up with 1.17, set up the next
piece, took off .030, and the two pieces match for length.
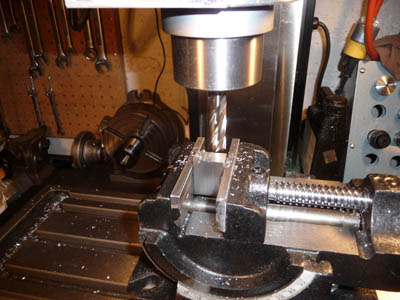
Good ol' 1018 CRS....
Side view, showing the radiused corners of the
B-Square Arbor press.
Finished T-Bolt heads, sans loctite.
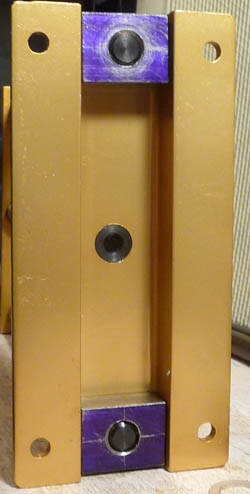
Almost complete quick-mod.
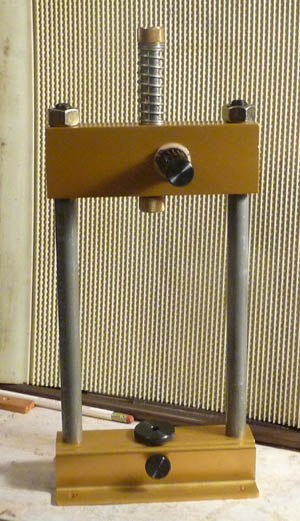
Well, had to clean up the chuck on the lathe... Using emery cloth
leaves an abrasive coating on the ways and the chuck jaws...
Anyways, dug up my Brown and Sharpe 12" aircraft scale (uses more
precise markings, down to 100ths), slapped on some Dykem, marked off
6 1/2 inches on the tubes, then parted. A few turns with the Noga to
debur, a little twirling on the belt sander, and put it together.
As expected, facing the tube end and parting to the same length
removed most, if not all, of the canting. Picked up two 1/2 inch
washers to protect the top crosspiece from the friction from the hex
nut (knurled nut). The original B-Square press used plastic
"spacers", which do not stand up well if crushed under the top nut
down into the hole around the stud. Once the plastic washer is
forced into the hole around the stud, it requires a mallet to force
the stud down far enough to free it...
Might have to part off another 1/2 inch, we'll see after some
use....
