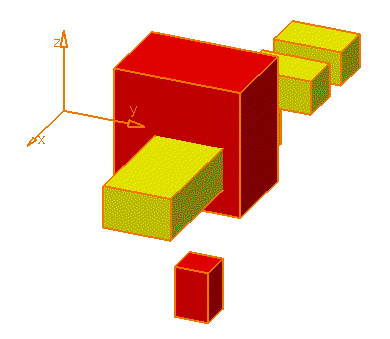
This task explains how to apply an assembly constraint to your CATIA V5 model and send it to ENOVIA LCA.
-
In CATIA V5, select Start-> Mechanical Design -> Assembly Design.
-
Create your model or choose an existing one.

-
Click the Flexible/rigid sub-assembly icon:
 to make flexible or rigid a component.
-
Flexible and rigid sub-assemblies allow to overload position of child components of the product instance.
-
You can notice that the little wheel to the left corner of the chain icon has turned purple. This identifies a flexible sub-assembly.
-
Flexible sub-assemblies are not supported by ENOVIA LCA.
-
Apply a constraint to your model. You can apply various constraints (coincidence, contact, offset and angle) by selecting one of the icons of the Constraints toolbar.
To know the role of all the constraints provided by CATIA V5 and how to analyze them, please refer to the Assembly Design documentation.
-
In CATIA Product Structure, click the Save Data in ENOVIA LCA Server... icon:
 to save the modifications in ENOVIA LCA.
Constraints cannot be viewed in ENOVIA LCA. However, if you send each CATIA V5 document from ENOVIA LCA to CATIA V5, then you will be able to see the constraints in CATIA V5.