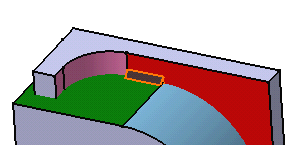
The green face is highlighted in the geometry area. This means that the application is going to include faces tangent to it in the selection. In our example, the blue face is the affected face, so that the application is going to extend the fillet weld along that face.
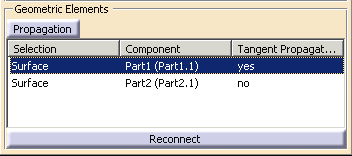
'yes' now appears in the Tangent Propagation column, indicating that a propagation is required.
If you wish to return to the previous state, simply click the Propagation button again.
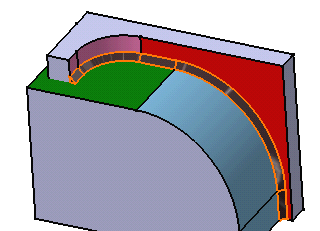
The weld fillet extends along the blue face.
The blue face is highlighted in the geometry area.
Click the Propagation button.
'yes' now appears in the Tangent Propagation column, indicating that a propagation is required.
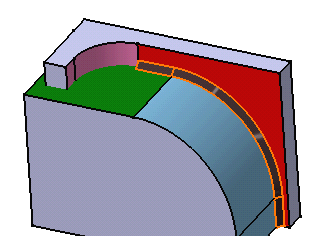
The weld fillet now also extends along the green face.