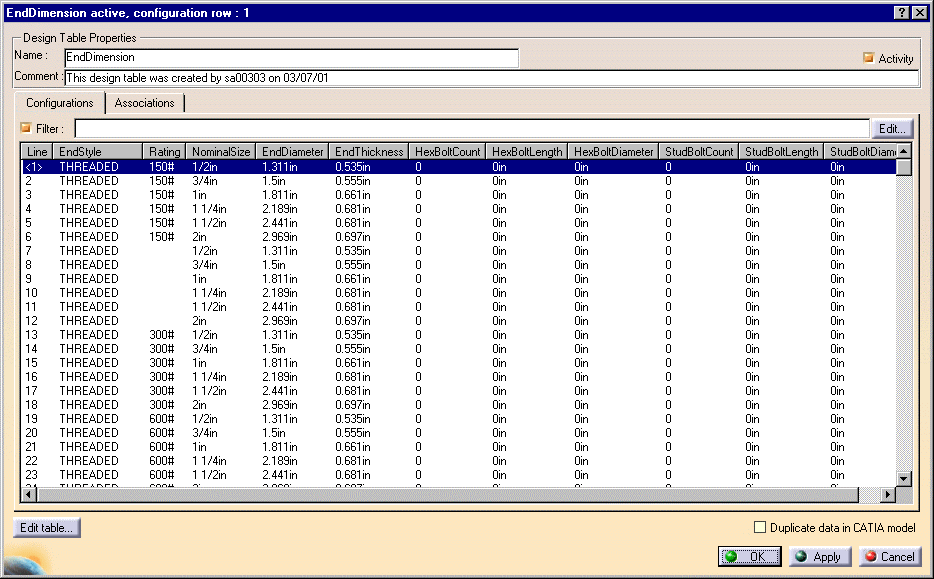
This is a standard-specific design rule and the associated table is located in the directory ...\intel_a\Startup\EquipmentAndSystems\XXXXX\Standards, where XXXXX is the application name, such as Piping.

Drawing Production: This function allows you to create a 2-D drawing from a 3-D document. The function uses data from this table to correctly size the 2-D EndDiameter. It does so by matching the values for the attributes EndStyle, Rating and Nominal Size of the 3-D part to values in this table, and reading the corresponding value for the attribute EndDiameter. For instance, if it finds in a 3-D document the endstyle "threaded", with a rating of "150#" and a nominal size of 1/2 inch, it will read that the value of the attribute EndDiameter is 1.311 inches, and determine from this that the size of the 2-D EndDiameter should be 1.311 inches.
Bill of materials report: This function lets you generate a report listing the number of bolts in your document, and showing bolt length and bolt diameter. The report provides information on hex bolts and stud bolts. It uses as input: values for the attributes endstyle, rating, nominal size. Values are output for: end diameter, end thickness, bolt count, bolt length and bolt diameter for hex and stud bolts. Although the rule outputs values for end diameter and end thickness, these are not used for the bill of materials report.
Values for end diameter are used in drawing production, as explained above.
Values for end thickness are not used by any function as of R10.
![]()