Placing an Access Part

This task shows you how to place an access plate.


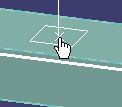
1. With your document open, click the Place Tap and Access button (or Place Tap button in Piping) to display the Class Browser. The Class Browser displays the types of access parts available to you. Expand the entries if necessary by double clicking, and make your selection. The Parts List displays, showing the parts available to you. Make your selection and click to place the part.


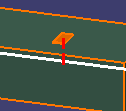
The changed color shows that a connection has been established between the access plate and the duct.

NOTE: This is a logical connection (as opposed to a physical connection) involving two connectors. If you move or resize the duct, the access plate will not move with it. You need to use the Adjust Tap and Access command to adjust and/or reposition the access plate. However, since a logical connection exists, you can still analyze the network or view related objects.
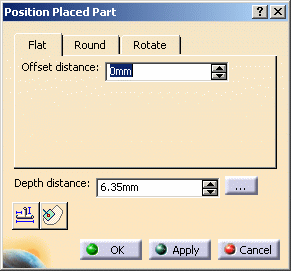
2. The Position Placed Part dialog box displays after you place the access plate. This allows you to position the access plate and also make changes to its properties. See Adjusting an Access Plate for an explanation of this dialog box.

  3. Make your adjustments and click Apply or OK. You exit the command when you click OK.