 |
This task shows you how to adjust
a part at placement time. This task only applies to placement of
functionless parts. Equipment is used to explain the task - the process is
the same for raceway and conduit. |

|
1. |
After you place your part, click
the Adjust Part button
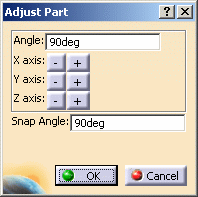
 in the Resource Placement dialog box. The Adjust Part dialog box displays.
 |
|
2. |
You can use this function to:
- Rotate the part a specified number of degrees (enter value in the
Angle field) around the x, y, or z axis.
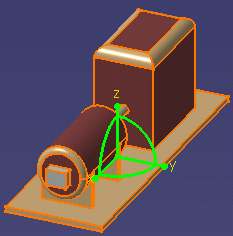
- Use the green manipulator that displays on the part to adjust the
part.
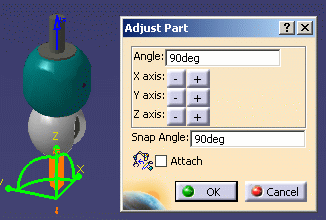
- If you are placing a special part known as a Resource, the Attach
option becomes available and you can use it to attach the resource.
|
|
3. |
To rotate the part enter a value in
the Angle field and click the Minus or Plus sign for the axis around which
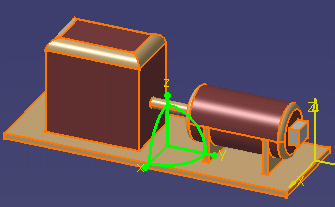
you want it to rotate. In the illustration below the equipment was rotated
90 degrees along the Z axis.

 |
|
4. |
Click on one of the manipulation
handles and rotate the part. It will snap to the nearest snap angle as
entered in the Snap Angle field, in this case 90 degrees.

If you click on one of the dots on the manipulator the part will rotate
180 degrees. |
|
5. |
If you place a resource (listed
under the class Inspection in the catalog browser) the Attach option
displays. The resource must be placed on a connector. Check the checkbox to
attach the resource to another part or resource.
 |
|
 |


![]()