Using the Swivel Feature
|
|
This task explains how you can use the swivel feature. | |
|
|
When you route a
flexible tube between two parts, the route is sometimes not optimum. The
route may be such that it forces the tube to assume a shape that places
extra stress on it, and on the parts to which it is attached. When you
use the swivel feature explained here, the application swivels the
selected part to a position that re-routes the tube in such a way that
it reduces stress on it. You should be familiar with the settings and options explained in Routing a Flexible. |
|
|
|
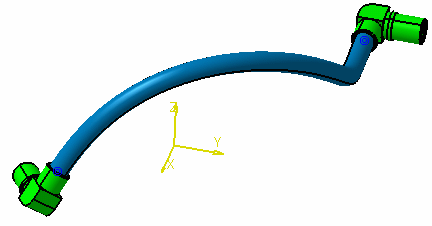
1. | In the image below the user has routed a flexible between
two elbows. You can see that the shape of the flexible is distorted
because of the way the elbow is positioned. The swivel feature can be
used to determine a better position for the elbow.
|
|
|
You can use the swivel feature while you are creating a route by clicking the Swivel button in the Flexible Routing dialog box. You can also use it for an existing route. To use it for an existing route, open your document and bring up the Definition dialog box for the flexible. To do so right-click on the flexible (make sure you are selecting the tube, and not the rib - click the Products Selection button if needed), select the FlexTube object in the drop down menu and then Definition in the menu that displays. | |
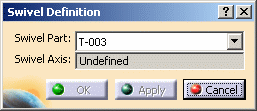
| 2. | Click the Swivel button. The Swivel
Definition dialog box
displays.
Select the part you want to swivel by clicking on the down arrow in the Swivel Part field. It is assumed that only one part can be swiveled at a time. |
|
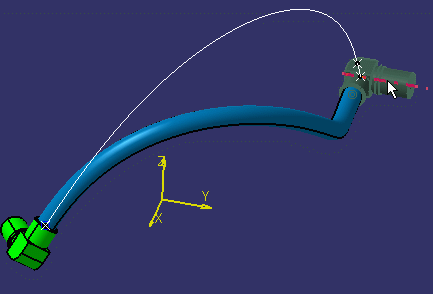
| 3. | After you select the part to swivel, move your pointer
over the part and select the axis on which you want to swivel it.
Usually you will only be able to swivel around one axis because of the
position of the flexible and part. If you select an axis on which the
part cannot be swiveled you will get an error message. Once you select the axis the part will swivel to a proposed new position. In the image below the user has clicked on the axis to select it, which displays the white line showing the proposed route of the flexible.
|
|
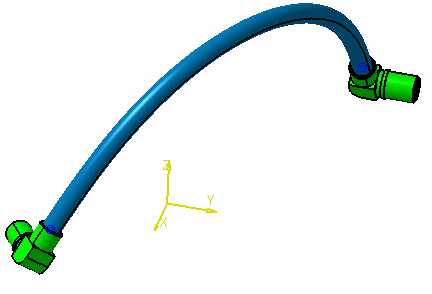
| 4. | Click Apply or OK to accept the
proposed route, or Cancel to exit. The image below shows the new route
of the flexible.
|
|
![]()


