Connecting Routables
|
|
This task shows you how to connect a routable, such as run or path reservation. A run is used as an example here. | |
|
|
You can use this function to connect two runs, connect a run to a part, or connect to a hole connector. | |
|
|
1. |
Click the Connect Run button
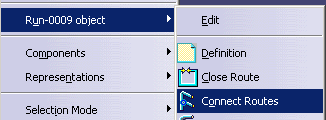
NOTE: In many applications the Connect Run button is not available in the toolbar. In these applications you should right click on the run and select from the drop down menu, as shown below. The run you right click on will be the slave run, as explained above.
|
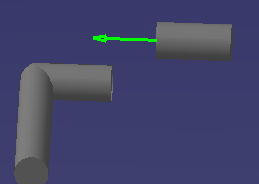
| 2. | Select the master element. The
first run will move to connect to the master run and the connection symbol
will display.
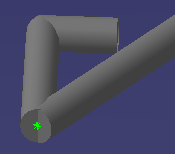
When two runs are connected at the ends of a segment a star connection is
established.
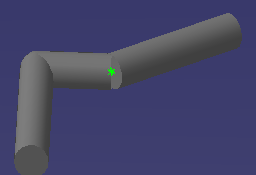
When the connection is in the middle of one run, as shown in the step below, a master-slave connection is established. |
|
|
|
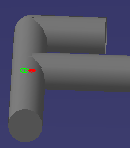
The slave run will
connect to the master at the green connection indicator that you select.
However, on the master run you can select any location and the slave run
will connect to that location. If
you select a location in the middle of the master run then you may have to
move the two near to each other to create the connection. The images below
show connections in the middle and at the end.
You can also connect a run to a part using the method described above. If the part does not have a connector then you must create one. |
|
| 3. |
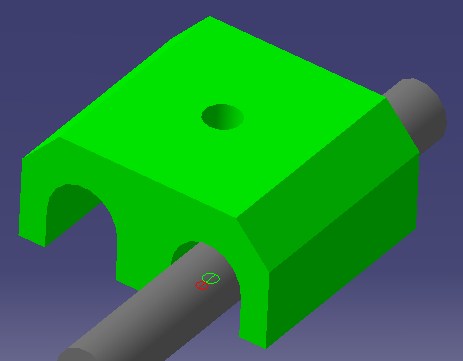
You do not need to select
the green connector indicator to connect a run to a hole connector. You can
click on a segment of the run instead. In the image below the user first
selected the run segment and then the hole connector on the clamp to place
the run through it.
|
|
|
|
||
