Modifying a Boundary
|
|
This task shows you how to modify a boundary. | |
|
|
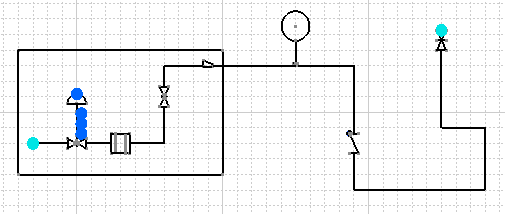
1. | In the illustration below the user
has a boundary which he wants to extend to include more components.
|
| 2. | Use the Sketcher function to modify the boundary. | |
| 3. | Click on the Create Zone Boundaries
button to bring up the Create Boundaries dialog box and then select the
boundary you have modified. The boundary will be highlighted.
|
|
| 4. | Click OK to modify the boundary. | |
| 5. | If you add any new boundary
elements to the boundary, as in the example below, only elements that
existed originally will be highlighted. To modify the boundary select one
of the preexisting elements and then each of the new ones. Click OK.
|
|
|
|
If you extend preexisting boundary elements to include new objects they will be included in that boundary. However, if new objects are included when you modify the boundary by adding new boundary elements, you must use the Update function to include them in that boundary. | |
![]()


