Routing at an Offset of a Routable
|
|
This task shows you how to route a run at an offset of a routable. This function allows you to create a run paralleling an existing run, a defined distance apart. | |
|
|
1. | Click the
Create an Offset Route button.
|
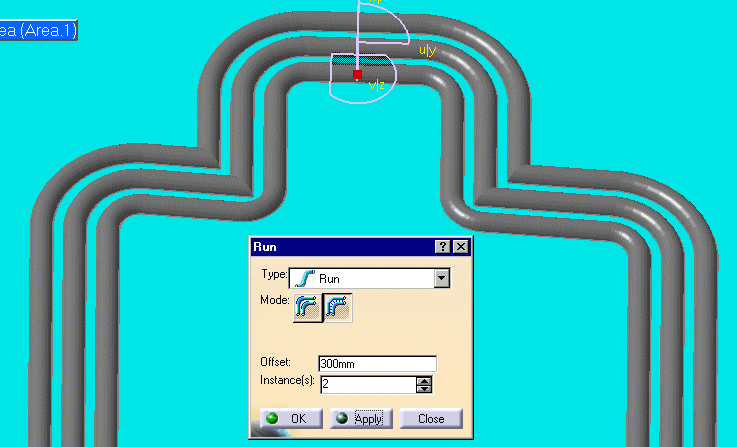
| 2. | Select a segment of the run to which you want an offset. The compass is placed on the segment. | |
| 3. | The direction in which the Z axis of the compass is pointed determines where the new run will be placed: you can place the new run or runs to the inside, to the outside or stacked on top of the existing run by adjusting the compass. | |
| 4. | Enter your options in the Run dialog box. | |
| Click either the
Constant Radius
Select one of the Offset Between buttons to indicate whether you want the offset measured from outside edge to outside edge, center line to center line or center line to outside edge. A negative offset may be entered to offset in the opposite direction to the compass Z direction. |
||
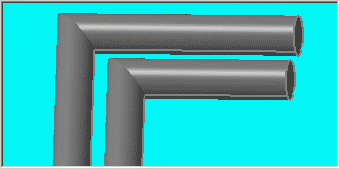
| 5. | Click OK. The offset run(s) will be created. In
the illustration below the run has been created with the Constant Clearance
option.
You can create an offset connection between two runs by checking the option Create Offset Connection. To delete a connection, right click on the run whose connection you want to delete, select the Run Object and, in the drop down menu that displays, select Delete Offset Connections. |
|
|
|
||

