-
Display the assembly in CATIA.
-
In the CATIA Save As dialog box that appears, name the file and click Save.
-
A SmarTeam dialog box appears.
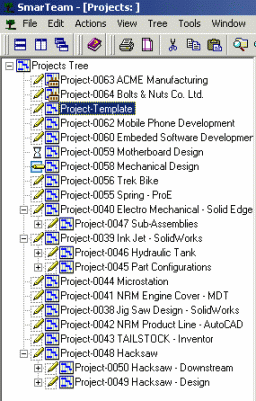
In this window you can define the project and the parent to which the document belongs. -
Choose a project.
The assembly will be saved as a document in the selected project.
-
Choose a parent folder.
The assembly will be saved as a child of the selected folder. The CATIA file name is displayed. -
Click Save.
-
A product Profile Card is displayed in which you can add relevant information. Enter a name for the Product in the Description attribute. By default, this attribute is displayed in the Data Manager tree along with the ID number.
-
Select the tabs to review default information about the file.
-
Click OK.
SmarTeam - CATIA Integration automatically saves your product in the database, giving it a unique identity where it can be easily found for later use.
In the SmarTeam tree hierarchy, all the components of the assembly are linked as components (children) of the product. This hierarchical link reflects the structure of the assembly as designed in CATIA. -
If the components of the assembly have not yet been saved in SmarTeam, a Profile Card for each component is displayed, one by one.
-
In each Profile Card, name the component (in the Description field).
-
Click Add to save the new parts/products in the SmarTeam database.
For example, if a product has three parts as its components, and these components have not yet been saved in SmarTeam, a Profile Card for each part is displayed.