Repairing the hole:
-
Click Fill Holes
 and select the mesh.
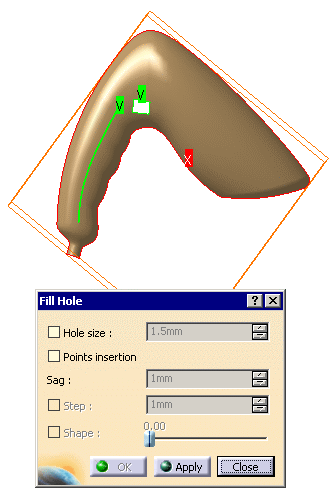
The exterior edge of the model is displayed in red,
with an "x" meaning this edge is not candidate for a filling.
The two other edges in green with a "v" surround holes candidates for the filling. -
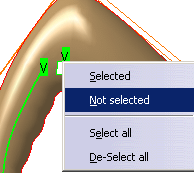
Place the cursor over the label of the long hole and call the contextual menu.
Select Not selected.
-
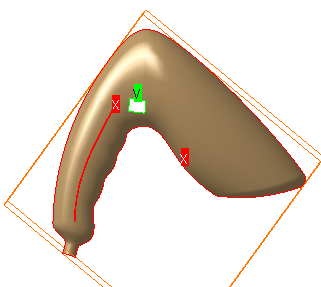
Click Apply and OK. The hole is filled:

Repairing the gap:
-
Click Activate Areas
 and select the mesh (Tessellation.1).
 -
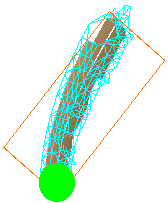
Draw a trap around the gap and click Inside Trap.
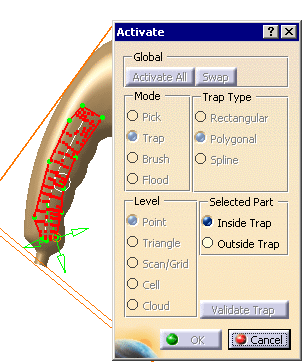
Click Valid Trap and OK. A portion of the mesh is activated:
-
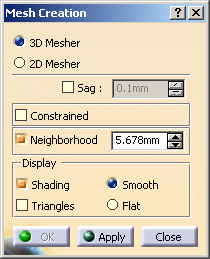
Click Mesh Regeneration
 and select the mesh (Tessellation.1).
Select the Constrained check box.
Click Apply and OK.
A MeshCreation.1 element is created in the specification tree:
the mesh on this portion has been regenerated.
-
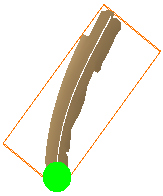
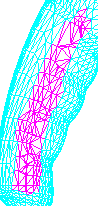
Select the Tessellation.1 element in the specification tree and click Activate Areas
.
Click Activate All. Both meshes are now active (we have changed MeshCreation.1 to pink).
From the picture below you can see that they are complementary:
-
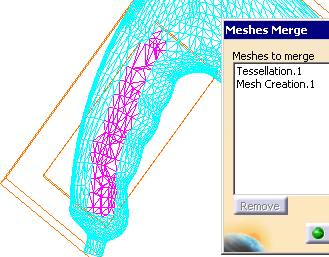
Click Merge
 and select the two meshes:
-
Click OK. A Meshes Merge.1 element is created in the specification tree.
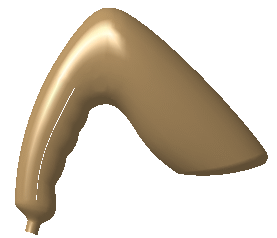
You have now a flawless mesh.


![]()