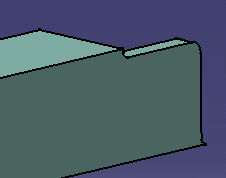
Placing Contextual Endcuts

This task shows you how to place a contextual endcut.

A contextual endcut is a feature with multiple inputs that depends on external objects, in our case, another shape, to be placed.
1. Click the Contextual Endcut icon.

The Catalog Selection for Endcut dialog box opens listing the various shape section types for which endcuts have been defined.
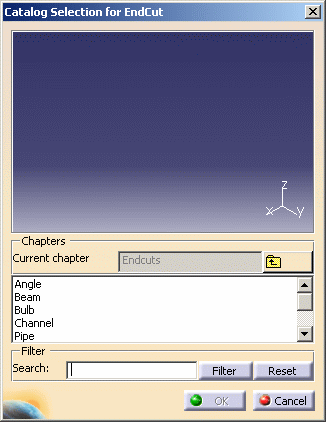
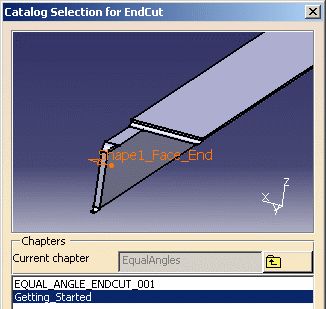
   
  2. Double-click the Angle chapter, then Contextual Endcuts and select the endcut 'Getting_Started' in the lower part of the dialog box.
    The selected endcut is displayed in the preview.
  3. Click OK to validate your selection.

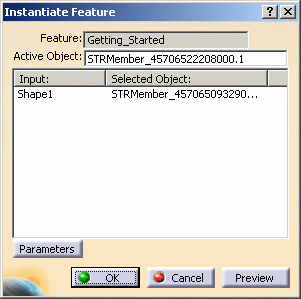
The Instantiate Feature dialog box opens. The Feature field lists the selected endcut.
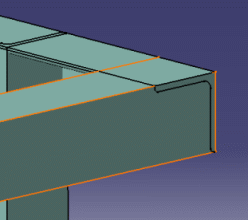
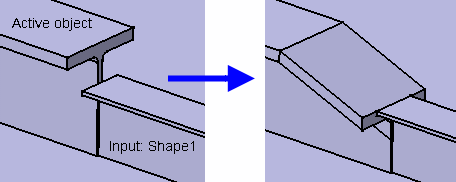
  4. Select the active object, i.e. the shape on which the endcut will be placed.

  5. Select the second shape from which information is obtained before placing the endcut.
  6. Click OK in the Instantiate Feature dialog box to place the endcut.

Note: The endcut is identified in the specification tree under the shape on which it is placed.
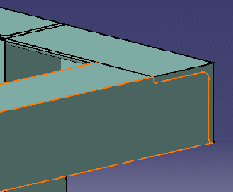
   
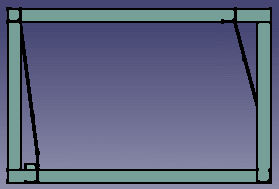
  7. Place other endcuts as needed to connect the top four shapes.