-
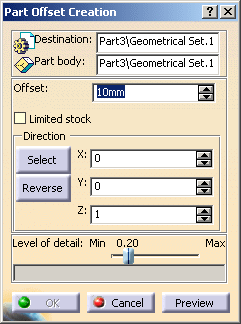
Click Creates a stock by offset
 in the
Geometry management toolbar.
The dialog box is displayed:
-
Destination: select a part in which the result will be stored.
-
The Limited stock option can be selected to reduce the stock offset:
- Original part:
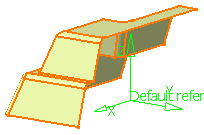
- Limited stock is not selected: The stock will look
like this:
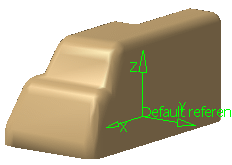
generating too many passes: 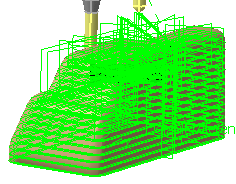
- Limited stock is selected: The stock is limited:

Generating only the required passes: 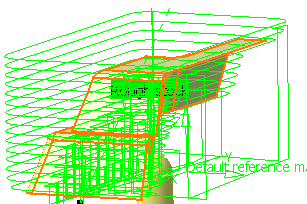
- Original part:
-
- either by its coordinates,
- or with the Select button: select a line to take its orientation, or a plane to take its normal,
- use reverse in reverse a given direction.
The direction is displayed as a red arrow.
-
Set:
-
Level of detail: this coefficient represents the accuracy level of the computed rough stock.
The higher the value, the higher the precision (but also the higher data size).
- Number of points: displays the number of points of the computed rough stock, for information.
-
-
Click Preview to visualize the result and OK to validate the offset:
An element OffsetPolygon.X is created in the specification tree.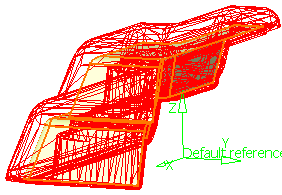
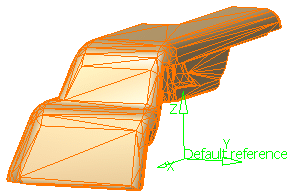
- The output is not an exact offset of the part: details not seen in the offset direction may be omitted.
- The bottom of the result is always flat and situated in a plane above
the lowest point of the part at
a distance equal to the offset value. - The result is not associative.
![]()