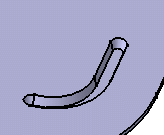
This task shows you how to create a curve stamp by specifying the punch geometrical parameters.
If not, open the Stamping3.CATPart document from the samples directory.
![]()
-
Click the Curve Stamp icon
 .
.
-
Select Sketch-for-Curve-Stamp, the curve previously defined.
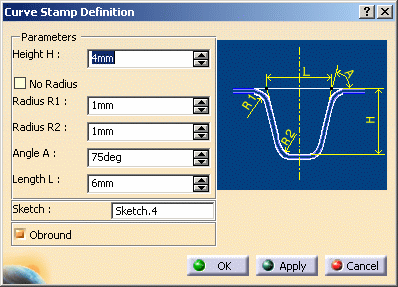
The Curve Stamp Definition dialog box opens, providing default values.
-
Change the value in the different fields, if needed:
Height H: the total height
Radius R1: the outer bend radius
Radius R2: the outer bend radius
Angle A: the stamping draft angle
Length L: the stamps' maximum width
-
Click OK to validate.
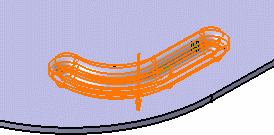
The curve stamp (identified as Curve Stamp.xxx) is created and the specification tree is updated accordingly.
- Check the No radius option to deactivate the Radius R1 and R2 values, and to create the curve stamp without a fillet.
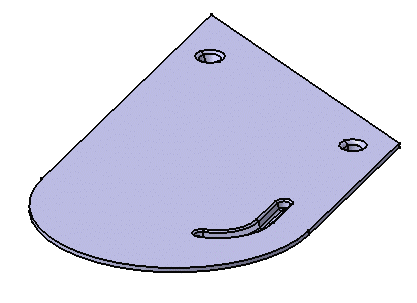
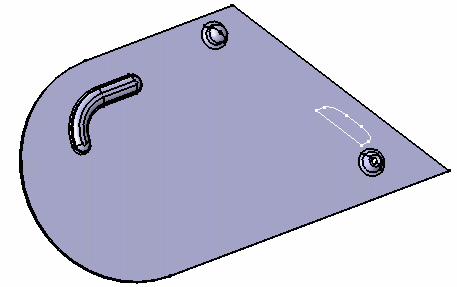
- Check the Obround option to round off the edges of the curve stamp.
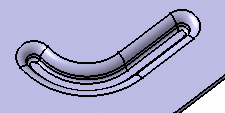
Obround option checked
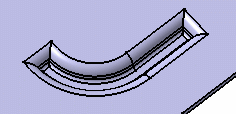
Obround option unchecked
![]()