This task shows you how to create a point stamp by specifying the punch geometrical parameters.
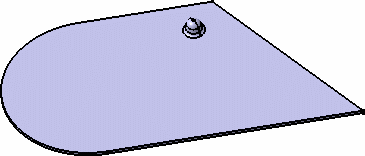
Open the Stamping.CATPart document from the samples directory.
-
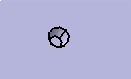
Click the Point Stamp icon
 .
.
-
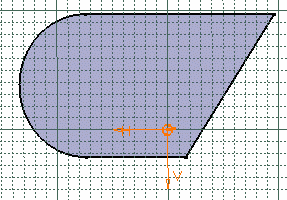
Select a point on the top face.
-
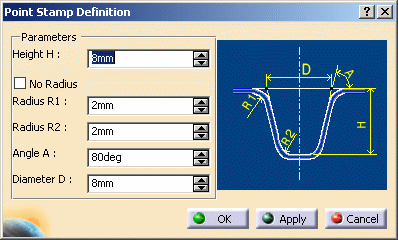
Change the value in the different fields, if needed:
Height H
Radius R1
Radius R2
Angle A
Diameter D
-
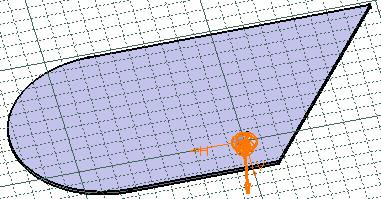
Click OK to validate.
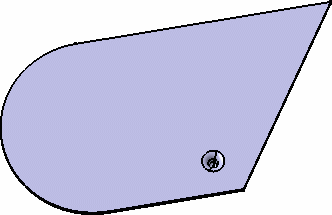
The point stamp (identified as Point Stamp.xxx) is created and the specification tree is updated accordingly.
Check the No radius option to deactivate the Radius R1 and R2 values, and to create the bridge stamp without a fillet.
![]()