 |
This task explains creation of a simple elongated opening. See the
Openings section for information about
creating other types of openings.
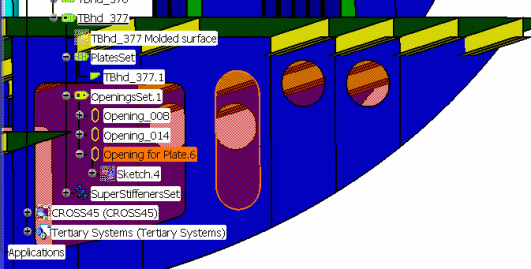
The image below shows the finished elongated opening,
along with other openings.
|

|
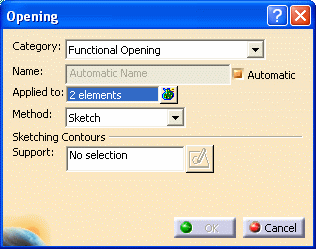
1. |
Click the
Opening button  to
display the Opening dialog box. to
display the Opening dialog box.
 |
| |
2. |
Functional Opening
is the default
Category, and displays
in the drop down list. Select the Automatic
checkbox. |
| |
3. |
The
Applied To field shows the object to which the opening will be
applied. You can click in the field and select a different object. |
| |
4. |
Method: Select
Sketch as the method for applying the
opening.
If the object on which the opening is to be placed is
planar then it will be pre-selected. If it is curved then you will have to
select a planar surface or plane.
Click on the Sketcher button to open the
Sketcher and make an elongated opening using
one of the tools. To learn about the Sketcher you need to see Sketcher
documentation.
|
| |
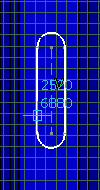
5. |
Click
OK in the Opening dialog box to
create the opening, as shown in the image above. |