Using the Historical Graph

This task shows how to use the Historical Graph's commands and contextual commands.

Open any .CATPart document.
  1. Select the element for which you want to display the historical graph.

  2. Click Show Historical Graph .

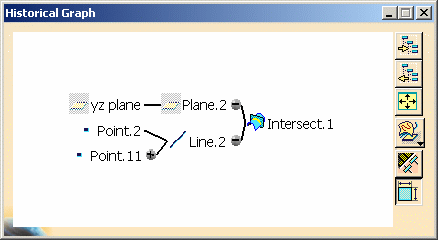
    The Historical Graph dialog box appears.
    In this case, you can examine the history of events that led to the construction of the Multi-sections surface.1 element. Each branch of the graph can be expanded or collapsed depending on the level of detail required.
    The following icon commands are available:
    Add Graph Adds a selected element to the graph
    Remove Graph Removes a selected element from the graph
    Reframe Centers the graph in the window
    Surface or Part graph representation Gives a horizontal or vertical representation
    Parameters Displays any parameters associated with the elements in the graph
    Constraints Displays any constraints associated with the elements in the graph
  3. Right-click anywhere in the historical graph to display the contextual menu:

    Hide/Show Hides or shows an element
    Properties Displays the properties of an element
    Reframe graph Centers the graph in the window
    Print whole Allows you to obtain a print of the graph
    Graph All Displays the whole graph of the part (as well as the roots and their first parents)
    Clean Graph  Clears the graph from the window
    Refresh Refreshes the graph display
    Expand All Displays the parents of the elements in the graph (but not the roots)
    Selecting and right-clicking an element enables the user to add the children to the selected element.